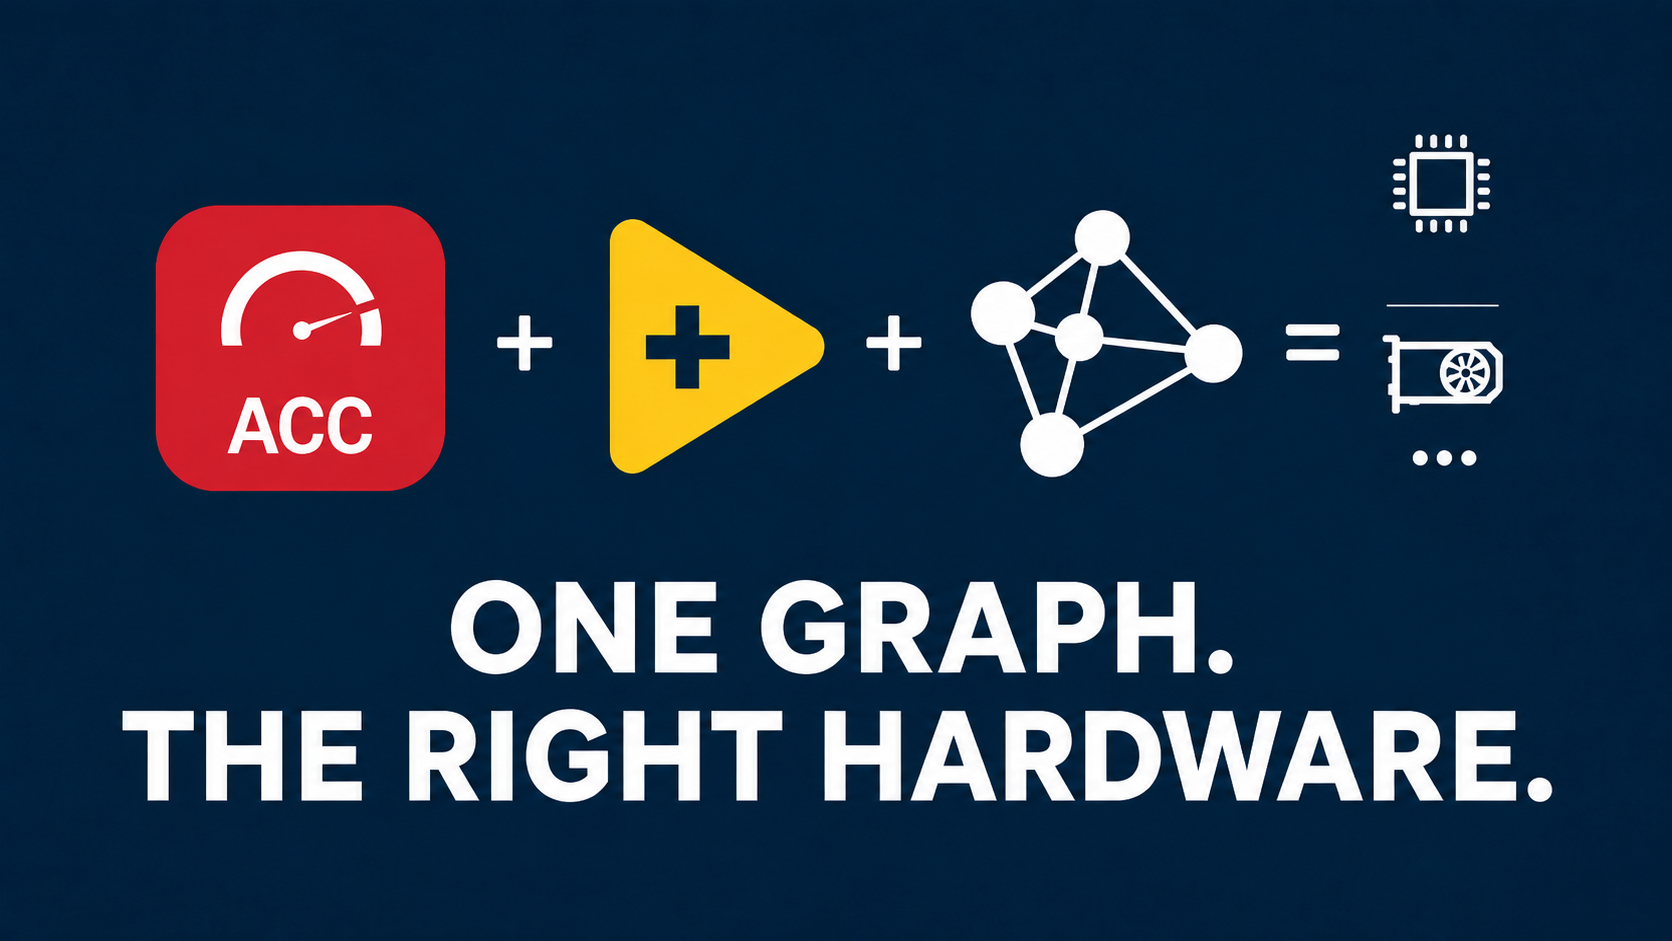

SOTA for LabVIEW is the unified artificial intelligence and accelerated computing ecosystem developed by Graiphic for engineers, researchers and developers working with LabVIEW.
It provides a consistent environment for preparing data, building models, training neural networks, processing images, running generative AI models, accelerating computations and deploying intelligent applications without moving the core application architecture outside LabVIEW.
SOTA is not simply one LabVIEW toolkit. It combines a software distribution platform, several interoperable toolkits, execution runtimes, hardware drivers, models, examples, development tools and a licensing system within one managed ecosystem.
This article explains what SOTA is, what its main components provide and how to install SOTA and its toolkits on a LabVIEW development machine.
Contents
- What is SOTA?
- Why was SOTA created?
- The main SOTA toolkits
- What does the SOTA application manage?
- SOTA or SOTA Local?
- Installation requirements
- How to install SOTA
- How to install a SOTA toolkit
- Installing local packages
- How to verify the installation
- Common installation issues
- Frequently asked questions
What is SOTA?
SOTA stands for State-of-the-Art. At Graiphic, the name refers both to the complete AI ecosystem created for LabVIEW and to the desktop application used to install, configure and maintain that ecosystem.
A complete AI ecosystem for LabVIEW
The SOTA ecosystem brings together the components required to develop modern artificial intelligence applications within LabVIEW. It covers deep learning, computer vision, generative AI, ONNX graph execution, reinforcement learning environments and GPU-accelerated computing.
Its purpose is to support the complete AI lifecycle, from data preparation and model development to optimization, inference and industrial deployment.
Instead of using unrelated tools for annotation, training, hardware optimization, model execution and deployment, developers can use a modular environment in which the different components are designed to work together.
A software management application
The SOTA application is also the central management interface for Graiphic software. It allows users to install toolkits, download add-ons, manage models and examples, prepare hardware runtimes, select a LabVIEW target and activate licenses.
You can find a more detailed technical overview in the official Introduction to SOTA and Understanding SOTA documentation.
In one sentence: SOTA turns LabVIEW into a complete environment for developing and deploying artificial intelligence and accelerated computing applications while centralizing the installation, configuration and licensing of every required component.
Why was SOTA created?
Traditional AI development workflows are often fragmented. Data may be prepared in one application, models trained in another framework, hardware optimization performed with separate command-line tools and the final system integrated through custom scripts or external services.
This fragmentation creates several recurring problems:
- Different tools use different formats and dependency versions.
- Model integration requires additional conversion and validation work.
- GPU and inference runtimes must be installed and maintained separately.
- Development environments are difficult to reproduce on another machine.
- Industrial deployment becomes dependent on several disconnected software layers.
SOTA was designed to reduce this fragmentation by keeping LabVIEW at the center of the application architecture. Acquisition, measurement, automation, user interfaces and hardware control remain in LabVIEW, while SOTA adds the AI and accelerated computing capabilities required by the project.
This approach is particularly relevant for test and measurement, automated inspection, industrial control, predictive maintenance, embedded systems, scientific research and applications that must combine physical equipment with modern AI models.
The main SOTA toolkits
SOTA is built around modular toolkits. Each toolkit focuses on a specific technical domain and can be installed independently according to the requirements of the project.
LabVIEW Deep Learning Toolkit
The LabVIEW Deep Learning Toolkit provides native tools for creating, editing, training, optimizing and executing neural networks in LabVIEW.
It supports workflows involving computational graphs, tensors, model weights, training sessions, loss functions, optimizers and inference sessions. ONNX and ONNX Runtime provide the interoperability layer required to exchange and execute models across different frameworks and hardware configurations.
The toolkit can be used for applications such as classification, anomaly detection, predictive maintenance, signal analysis, object detection, segmentation and custom neural-network development.
The complete setup procedure is available in the LabVIEW Deep Learning Toolkit installation guide.
LabVIEW Computer Vision Toolkit
The LabVIEW Computer Vision Toolkit provides the image-processing and visualization functions required to create complete computer vision pipelines.
It can be used for image acquisition, preprocessing, filtering, annotation, object detection, segmentation, tracking, automated inspection and video analysis.
The toolkit allows developers to combine conventional computer vision operations with deep learning models in the same LabVIEW application. This makes it possible to prepare images, run a model, interpret its outputs and control industrial equipment through one graphical workflow.
Installation instructions are available in the LabVIEW Computer Vision Toolkit documentation.
LabVIEW Accelerator Toolkit
The LabVIEW Accelerator Toolkit provides a LabVIEW-native environment for executing and accelerating ONNX computational graphs.
It allows an application to use different ONNX Runtime execution providers according to the available hardware and software configuration. These providers can include CPU-optimized runtimes, CUDA, TensorRT, oneDNN or OpenVINO.
The toolkit is not limited to neural-network inference. ONNX graphs can also represent mathematical, signal-processing and general computational workloads that benefit from graph optimization and hardware acceleration.
The installation process is described in the LabVIEW Accelerator Toolkit installation guide.
LabVIEW CUDA Toolkit
The LabVIEW CUDA Toolkit gives LabVIEW applications direct access to GPU-accelerated computing on compatible NVIDIA hardware.
It can be used for matrix operations, parallel numerical processing, array transformations, GPU memory management and other compute-intensive workloads that do not necessarily require a neural network.
This toolkit is suitable for applications in which conventional CPU execution is not sufficient to meet throughput or latency requirements.
The required steps are presented in the LabVIEW CUDA Toolkit installation guide.
LabVIEW Generative AI Toolkit
The LabVIEW Generative AI Toolkit enables developers to integrate generative AI workflows into LabVIEW applications.
It supports use cases involving large language models, small language models, vision-language models, local model execution, hosted AI services, text generation, audio workflows and intelligent agents.
Possible applications include technical assistants, automated report generation, natural-language interfaces, intelligent test systems, document analysis and orchestration between AI models and physical equipment.
The first installation and validation steps are available in the LabVIEW Generative AI Toolkit installation guide.
What does the SOTA application manage?
The SOTA desktop application acts as the software manager for the entire ecosystem. It provides a central interface for installing and maintaining the components required by a LabVIEW AI project.
SOTA can manage the following types of resources:
- Toolkits: Deep Learning, Computer Vision, Accelerator, Generative AI and CUDA modules.
- Add-ons: optional extensions that add importers, model formats, development features or additional runtime capabilities.
- Hardware runtimes: components such as CUDA, TensorRT, oneDNN and OpenVINO.
- Models: model packages that can be downloaded and used with compatible toolkits.
- Examples: complete LabVIEW examples designed to demonstrate specific workflows.
- Reinforcement learning environments: simulation environments that can be used to train and evaluate agents.
- Licenses: activation, deactivation and monitoring of licenses assigned to the user and machine.
- LabVIEW targets: selection of the LabVIEW release and architecture receiving the toolkit.
The current packages and versions can be viewed on the SOTA versions and local packages page.
SOTA or SOTA Local?
Graiphic provides two installation modes to support different infrastructure and network requirements.
SOTA
The standard SOTA application uses Graiphic’s connected services to provide centralized access to toolkits, models, examples, updates and licensing functions.
This version is recommended for development machines that can normally access external online services.
SOTA Local
SOTA Local is intended for machines that must operate without a permanent cloud connection. It retains the core management and installation capabilities required to work directly on the local machine.
This mode is particularly useful for controlled industrial networks, secure environments, isolated workstations or locations where internet access is restricted or unreliable.
Both options are available from the official SOTA download page.
Installation requirements
Before installing SOTA, prepare the target machine and identify the LabVIEW environment that will receive the toolkits.
1. Identify the LabVIEW target
Check the exact LabVIEW release and architecture used by your project. A 32-bit LabVIEW installation and a 64-bit LabVIEW installation are separate targets and require the corresponding toolkit package.
If several LabVIEW versions are installed on the same computer, determine which version is used by the project before starting the toolkit installation.
Because the supported versions evolve, use the versions currently displayed by SOTA or by the Download Version page rather than relying on an older compatibility list.
2. Install the NI LabVIEW Runtime Engine
The SOTA application requires the NI LabVIEW Runtime Engine. If it is not already installed, use the runtime installer provided in the SOTA Installer section of the official download page.
3. Use an account with installation permissions
The Windows user must be allowed to install applications and write files into the relevant LabVIEW directories. Administrator permissions may be required depending on the machine configuration and company security policy.
4. Create a Graiphic account
A Graiphic account is used to connect to SOTA and manage access to toolkits and licenses. A new account can be created from the Graiphic registration page.
5. Check optional hardware requirements
A GPU is not required for every SOTA workflow. CPU execution is sufficient for many applications and initial validation tests.
However, CUDA or TensorRT workflows require a compatible NVIDIA GPU and the appropriate drivers and runtimes. Intel acceleration workflows may require oneDNN or OpenVINO components.
How to install SOTA
Step 1: Choose SOTA or SOTA Local
Open the main SOTA download page or the complete versions page, then choose the standard SOTA installer or SOTA Local according to the network requirements of the machine.
Step 2: Install the NI LabVIEW Runtime Engine if required
If the runtime is not already available, install the version provided in the warning displayed above the SOTA installer on the Download Version page.
Complete the runtime installation before launching the SOTA setup program.
Step 3: Download the SOTA installer
Select the required SOTA version and download the setup file to the target machine.
For environments with restricted internet access, the installer can be downloaded on an authorized machine and transferred according to the organization’s security procedures.
Step 4: Run the installer
Launch the downloaded setup file and follow the instructions displayed by the installer.
Allow the setup program to install the required files and create the SOTA application shortcuts.
Step 5: Launch SOTA
After installation, start SOTA from the Windows Start menu or the desktop shortcut.
Step 6: Sign in
Connect using the Graiphic account associated with the toolkits and licenses. Once authenticated, the SOTA interface provides access to the available modules, add-ons, hardware components, installed packages and licenses.
The complete process is also documented in the official SOTA installation guide.
How to install a SOTA toolkit in LabVIEW
Once SOTA is installed and running, the general toolkit installation process is the same for the Deep Learning, Computer Vision, Accelerator, CUDA and Generative AI modules.
- Close the LabVIEW development environment before installing or updating a toolkit.
- Open SOTA and access the toolkit library.
- Select the required toolkit.
- Read the toolkit description, release information and prerequisites.
- Select the target LabVIEW release.
- Select the 32-bit or 64-bit architecture corresponding to that LabVIEW installation.
- Start the installation.
- Accept the license agreement when it is displayed.
- Wait for SOTA to download and install the toolkit package.
- Open the installed components section and verify the toolkit name, version and LabVIEW target.
- Launch LabVIEW and confirm that the new toolkit palette is available.
If the same toolkit must be used with another compatible LabVIEW release, repeat the installation and select the second LabVIEW target.
Installing an acceleration runtime
When a project uses a specific execution provider, open the hardware or driver section in SOTA and install the corresponding runtime.
Examples include CUDA and TensorRT for compatible NVIDIA GPUs, or oneDNN and OpenVINO for supported Intel configurations.
Only install the runtimes required by the selected execution path. This makes the machine configuration easier to maintain and reduces the risk of mixing unnecessary dependencies.
Installing models, examples and environments
SOTA can also install additional resources associated with the toolkits, including models, examples and reinforcement learning environments.
For a first validation, install one toolkit and one simple example before adding several models or hardware runtimes. This allows the base installation to be tested independently from the rest of the project.
Activating the license
Open the license section in SOTA to view the licenses associated with the connected account.
Select the required license and activate it on the current machine. When a license must be moved to another computer, deactivate it on the original machine before activating it on the replacement system.
Detailed information about certificate-based and token-based activation is available in the SOTA licensing documentation.
Installing SOTA packages locally
The Download Version page also provides individual packages for controlled or local installation workflows.
The package types are organized by purpose:
- .stk: SOTA toolkit packages.
- .sdv: hardware installation and runtime packages.
- .smd: model packages.
- .sev: reinforcement learning environment packages.
- .sxp: example packages.
This package-based workflow is useful when the development machine cannot download large components directly or when packages must first be validated by an IT or cybersecurity team.
Download only the toolkit, driver, model or example required by the project, transfer it to the target machine and manage the installation through SOTA Local according to the documentation associated with that component.
Before transferring a package, verify its version, target architecture and compatibility with the installed LabVIEW environment.
How to verify the installation
After installing SOTA and a toolkit, perform a basic validation before integrating the component into a production project.
- Open SOTA and confirm that the toolkit appears in the installed components list.
- Verify the toolkit version and selected LabVIEW target.
- Check that the required license is active.
- Launch the corresponding LabVIEW version.
- Create a blank VI and open the Functions palette.
- Confirm that the Graiphic toolkit palette is visible.
- Open a simple example supplied with the toolkit.
- Run the example using CPU execution first when the workflow supports it.
- If GPU acceleration is required, enable the selected execution provider and verify that the expected hardware is used.
Testing the CPU path before the GPU path helps separate toolkit installation issues from GPU driver or runtime configuration issues.
Common installation issues
The toolkit palette does not appear in LabVIEW
Check that the toolkit was installed for the exact LabVIEW release and architecture currently running. A toolkit installed for LabVIEW 64-bit will not automatically appear in a 32-bit LabVIEW environment.
Close and restart LabVIEW after the installation.
SOTA does not start
Verify that the NI LabVIEW Runtime Engine required by the current SOTA installer is installed correctly.
If the machine uses restrictive application policies, launch the installer and SOTA with the permissions authorized by the system administrator.
The toolkit download is slow or interrupted
Check whether the network, proxy, firewall or company security system restricts connections to external services.
For controlled or unreliable networks, use SOTA Local and the local package downloads available on the Download Version page.
GPU acceleration is unavailable
Confirm that the machine contains compatible hardware and that the required GPU driver, CUDA runtime or TensorRT package is installed.
Also verify that the execution provider selected in the LabVIEW application matches the installed runtime.
The toolkit is installed but cannot be executed
Check the license status in SOTA, the toolkit version, the LabVIEW target and any runtime dependencies required by the example.
Review the product-specific documentation because some models and execution providers have additional hardware or memory requirements.
Additional support
Technical questions, installation reports and product feedback can be submitted through the Graiphic Support Community.
What can you build with SOTA?
SOTA can be used in any LabVIEW application that must combine acquisition, measurement, control or automation with artificial intelligence.
Typical use cases include:
- Anomaly detection on sensor signals and industrial measurements.
- Automated visual inspection and quality control.
- Object detection, classification, tracking and segmentation.
- Predictive maintenance and remaining useful life estimation.
- Time-series analysis and signal classification.
- Local execution of language and multimodal models.
- Automatic generation of reports and technical explanations.
- Natural-language interfaces for test and measurement applications.
- Intelligent agents connected to instruments or industrial systems.
- Reinforcement learning and autonomous control experiments.
- GPU acceleration of numerical and matrix-based workloads.
The main advantage is that these capabilities can be combined with existing LabVIEW strengths such as hardware communication, real-time data acquisition, operator interfaces, test sequencing and industrial deployment.
Frequently asked questions
Is SOTA only a LabVIEW toolkit?
No. SOTA is an ecosystem composed of several toolkits, runtimes, add-ons, models, examples and licensing tools. SOTA is also the application used to install and manage those components.
Does SOTA replace LabVIEW?
No. SOTA extends LabVIEW. Developers continue to create their applications in LabVIEW while SOTA provides the AI, model-execution and accelerated-computing capabilities required by the application.
Is Python required to use SOTA?
No. The core SOTA workflows are designed to be created and executed from LabVIEW. Models and resources originating from ecosystems such as PyTorch, TensorFlow, Hugging Face or ONNX can be imported or executed through compatible SOTA components without making Python the mandatory runtime layer of the deployed LabVIEW application.
Is a GPU required?
No. Many models and workflows can run on a CPU. A GPU becomes useful when the size of the model, the volume of data or the required execution time justifies hardware acceleration.
Does SOTA require a cloud connection?
The standard SOTA application uses connected Graiphic services for centralized management. SOTA Local is available for machines that must work locally without a permanent cloud connection.
Can SOTA support several LabVIEW versions on the same machine?
Yes, provided that the toolkit supports those LabVIEW releases. The toolkit must be installed separately for each selected LabVIEW target and architecture.
Which toolkit should be installed first?
The correct toolkit depends on the application. Use the Deep Learning Toolkit for neural-network creation and inference, the Computer Vision Toolkit for image pipelines, the Accelerator Toolkit for ONNX graph acceleration, the CUDA Toolkit for direct NVIDIA GPU computing and the Generative AI Toolkit for language, multimodal and agent-based workflows.
Start building AI applications in LabVIEW
SOTA is more than a method for launching a model from a VI. It provides a structured environment for installing, developing, executing and deploying complete AI workflows in LabVIEW.
Its modular architecture allows each project to use only the components it needs while retaining access to a broader ecosystem of toolkits, execution providers, models, examples and hardware runtimes.
To begin, install SOTA, select the LabVIEW target used by your project and add one toolkit with a simple validation example. Additional models, drivers and add-ons can then be introduced progressively as the application evolves.
Download SOTA · Read the documentation · Access technical support