-
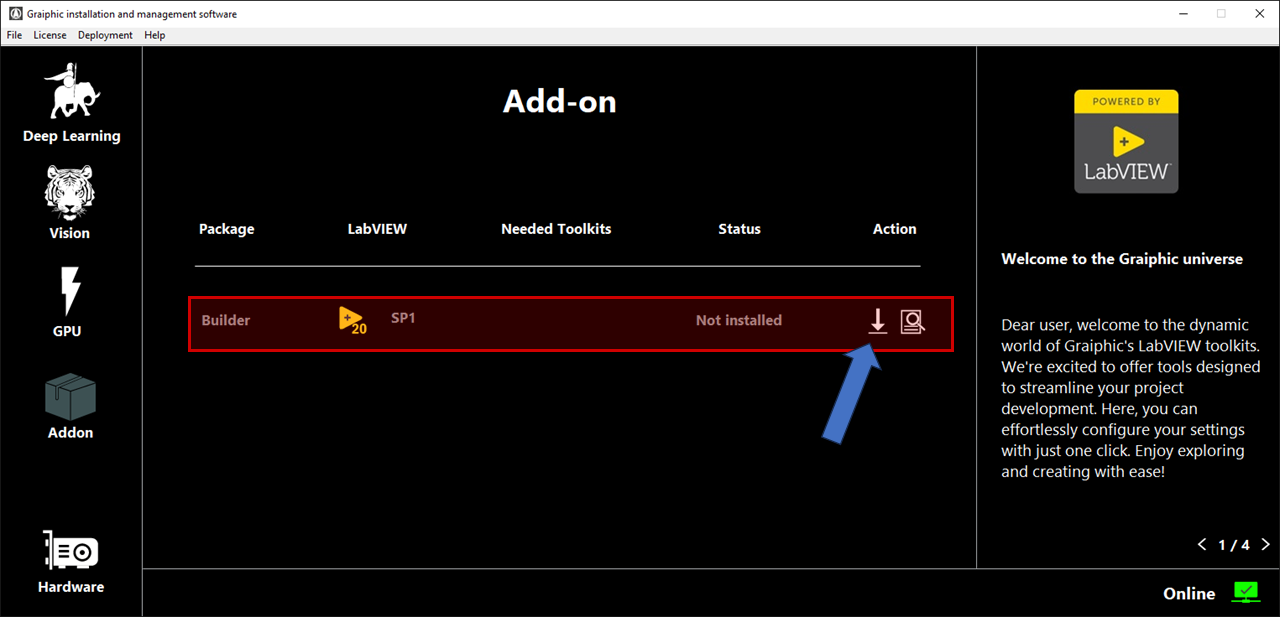
- Install the Builder add-on from GIM.
-
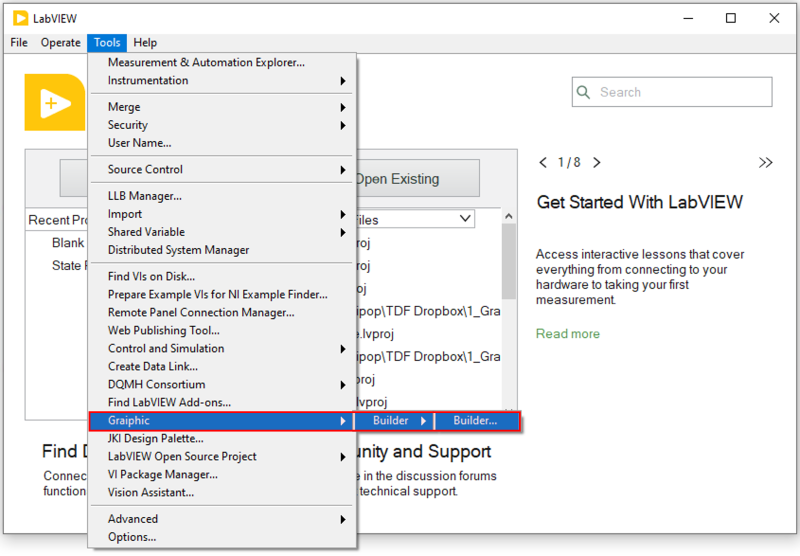
- In LabVIEW, in the tools menu, launch the Builder.
-
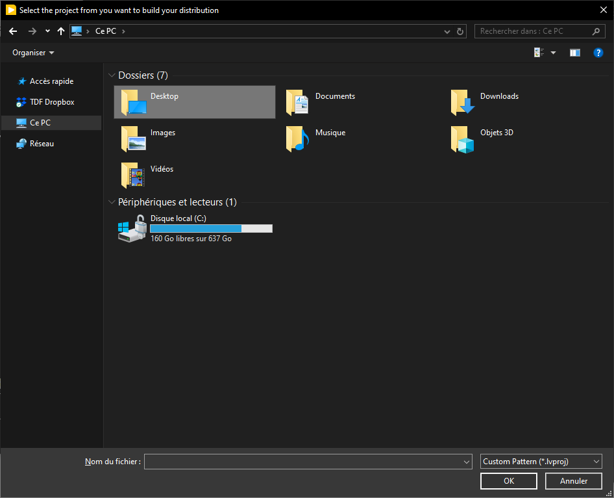
- When you launch the program, a window will open. Select the project you want to build on.
-
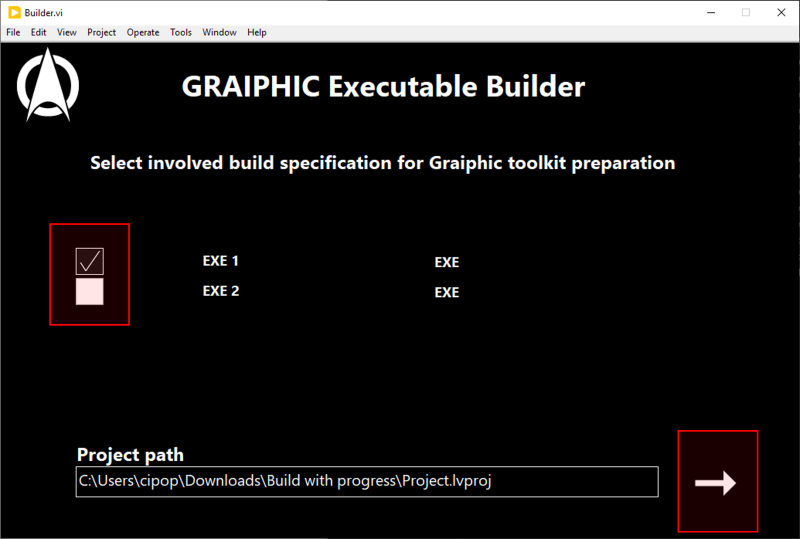
- Select the Builds to be performed.
- Click on the arrow to start building.
-
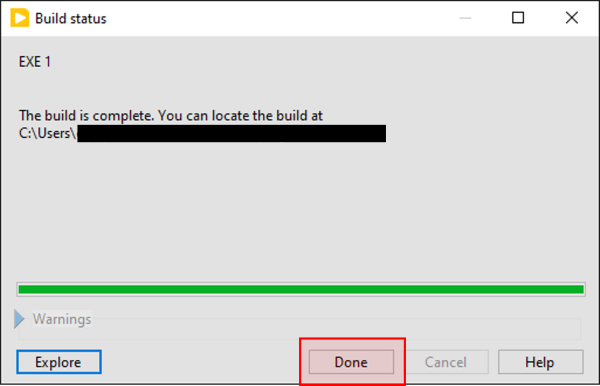
- The construction window opens, wait until construction is complete before continuing.
- Cliquez sur “Done“.
-
- Run the build and wait for the front panel to appear, which will allow you to retrieve the DLLs used by the GRAIPHIC toolkit.
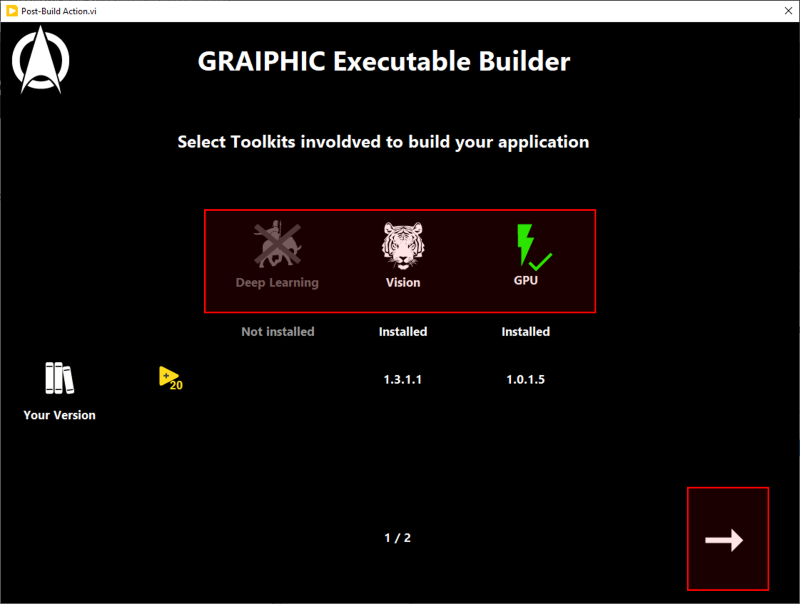
- On the first page, select the toolkit(s) present in your executable.
-
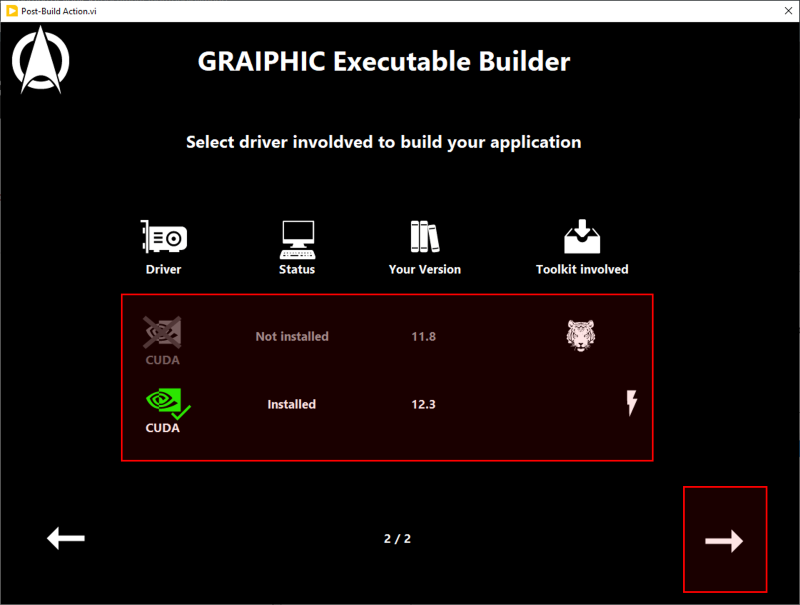
- On the second page, select the hardware(s) compatible with the toolkit(s) in your executable.
