
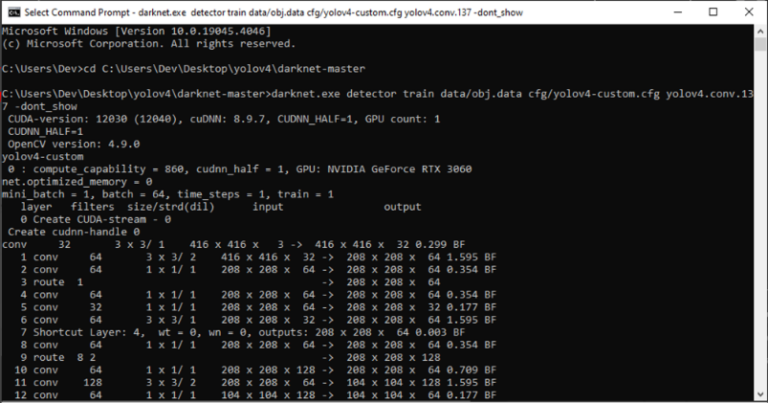
The aim of this post is to enable you to train the YOLO detection model on the Darknet environment.
In this post, we are going to assume that we haven’t already installed the various software packages presented. If any of the software is already installed on your computer, you can skip the corresponding part.
Let’s start !
Installing Python
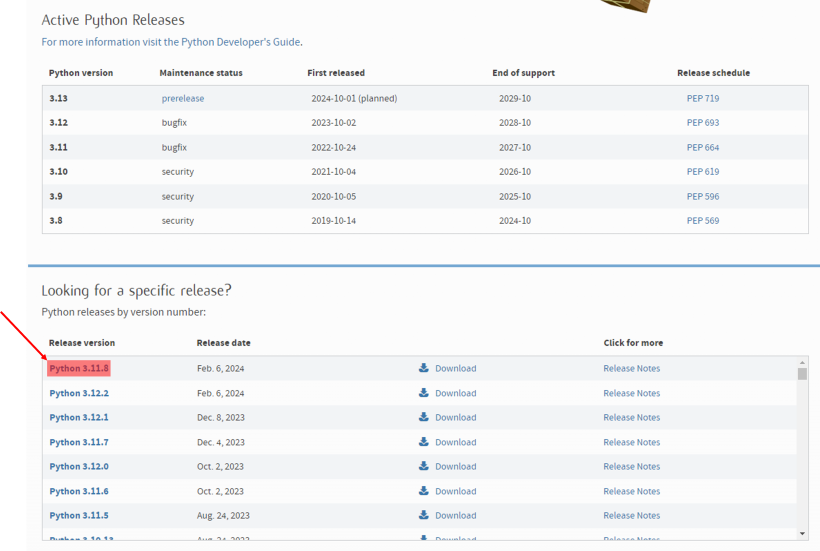
In this part I’m going to get you to install Python and one of the latest versions currently available (3.11.8).
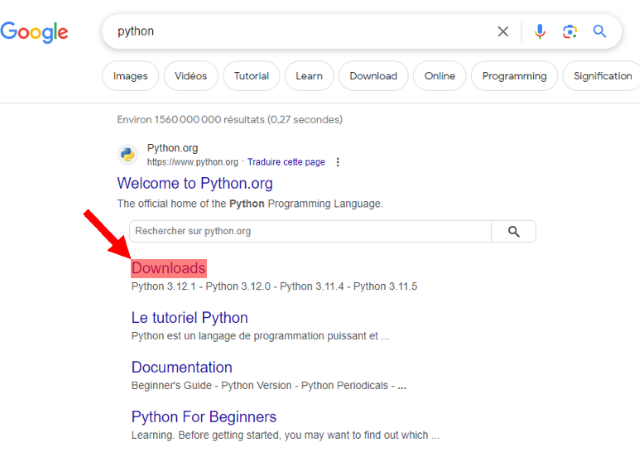
To do this, we’re going to the official Python site.
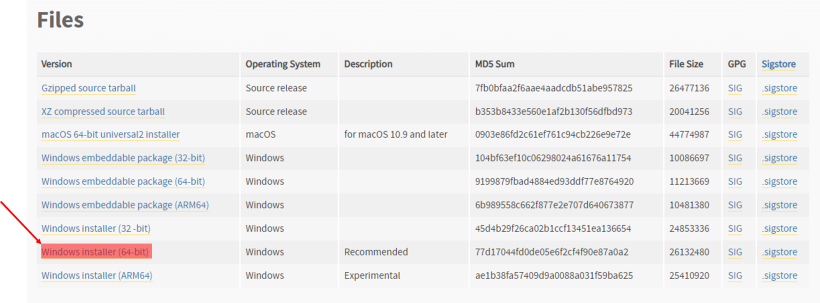
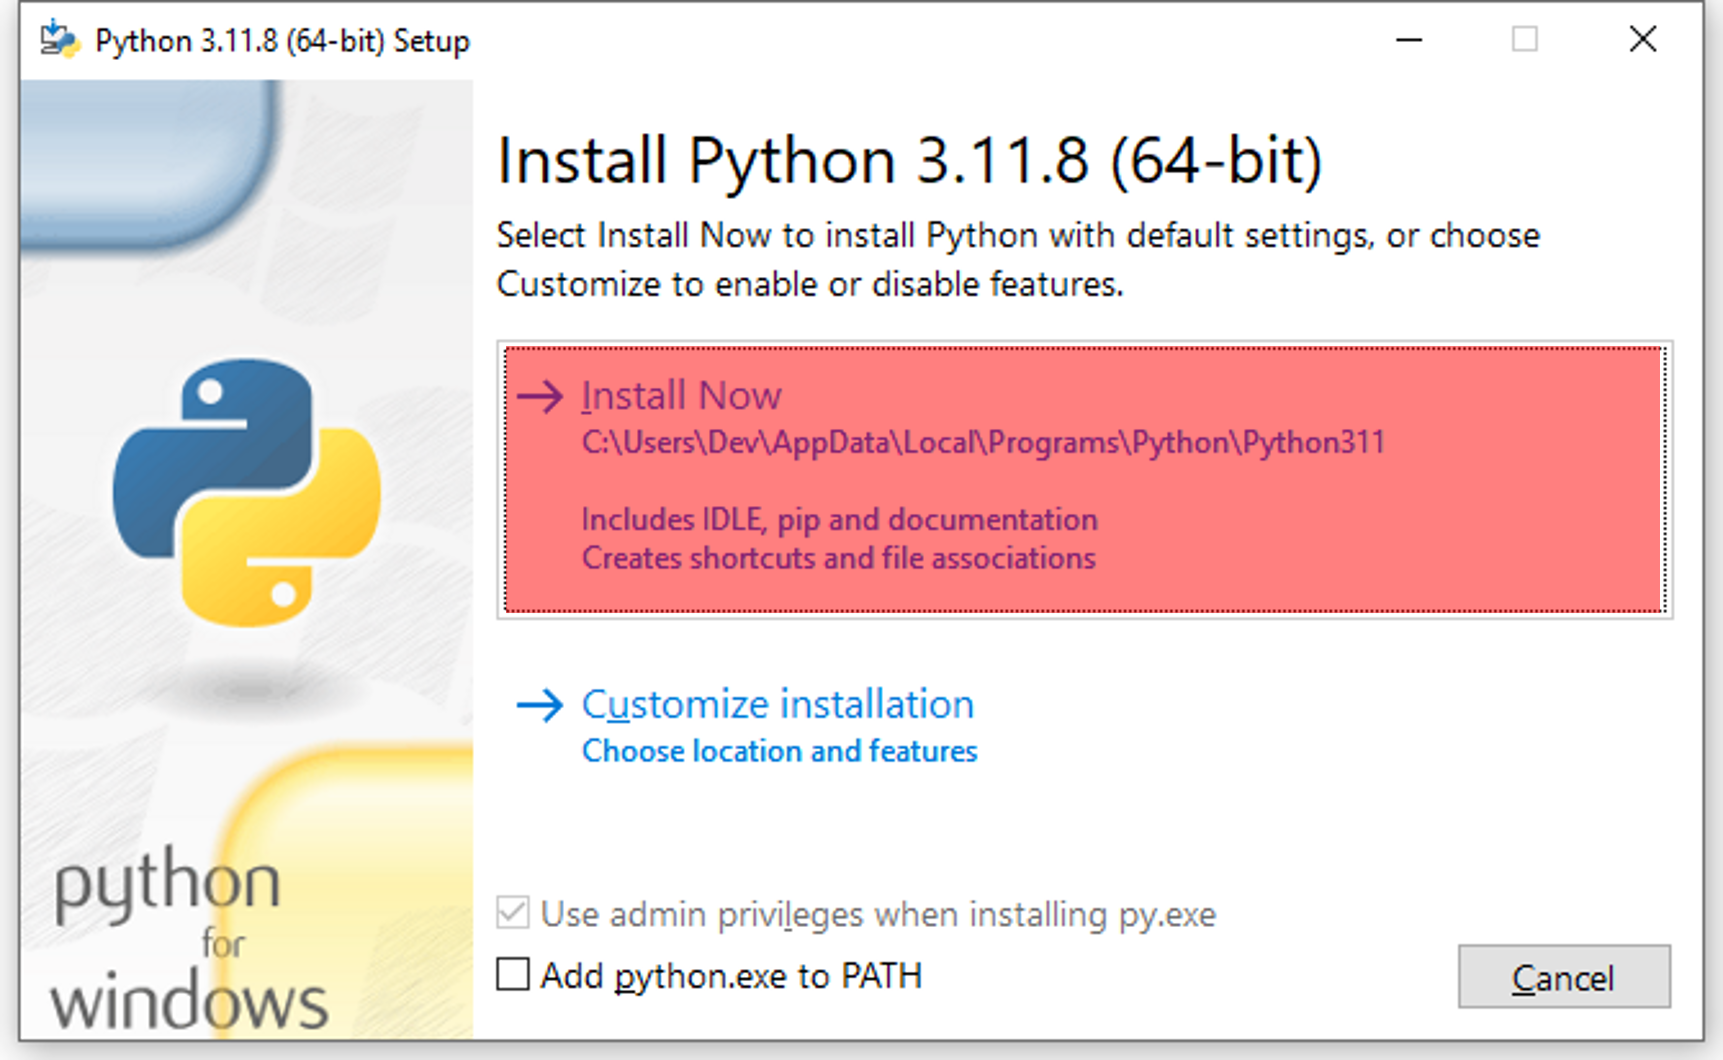
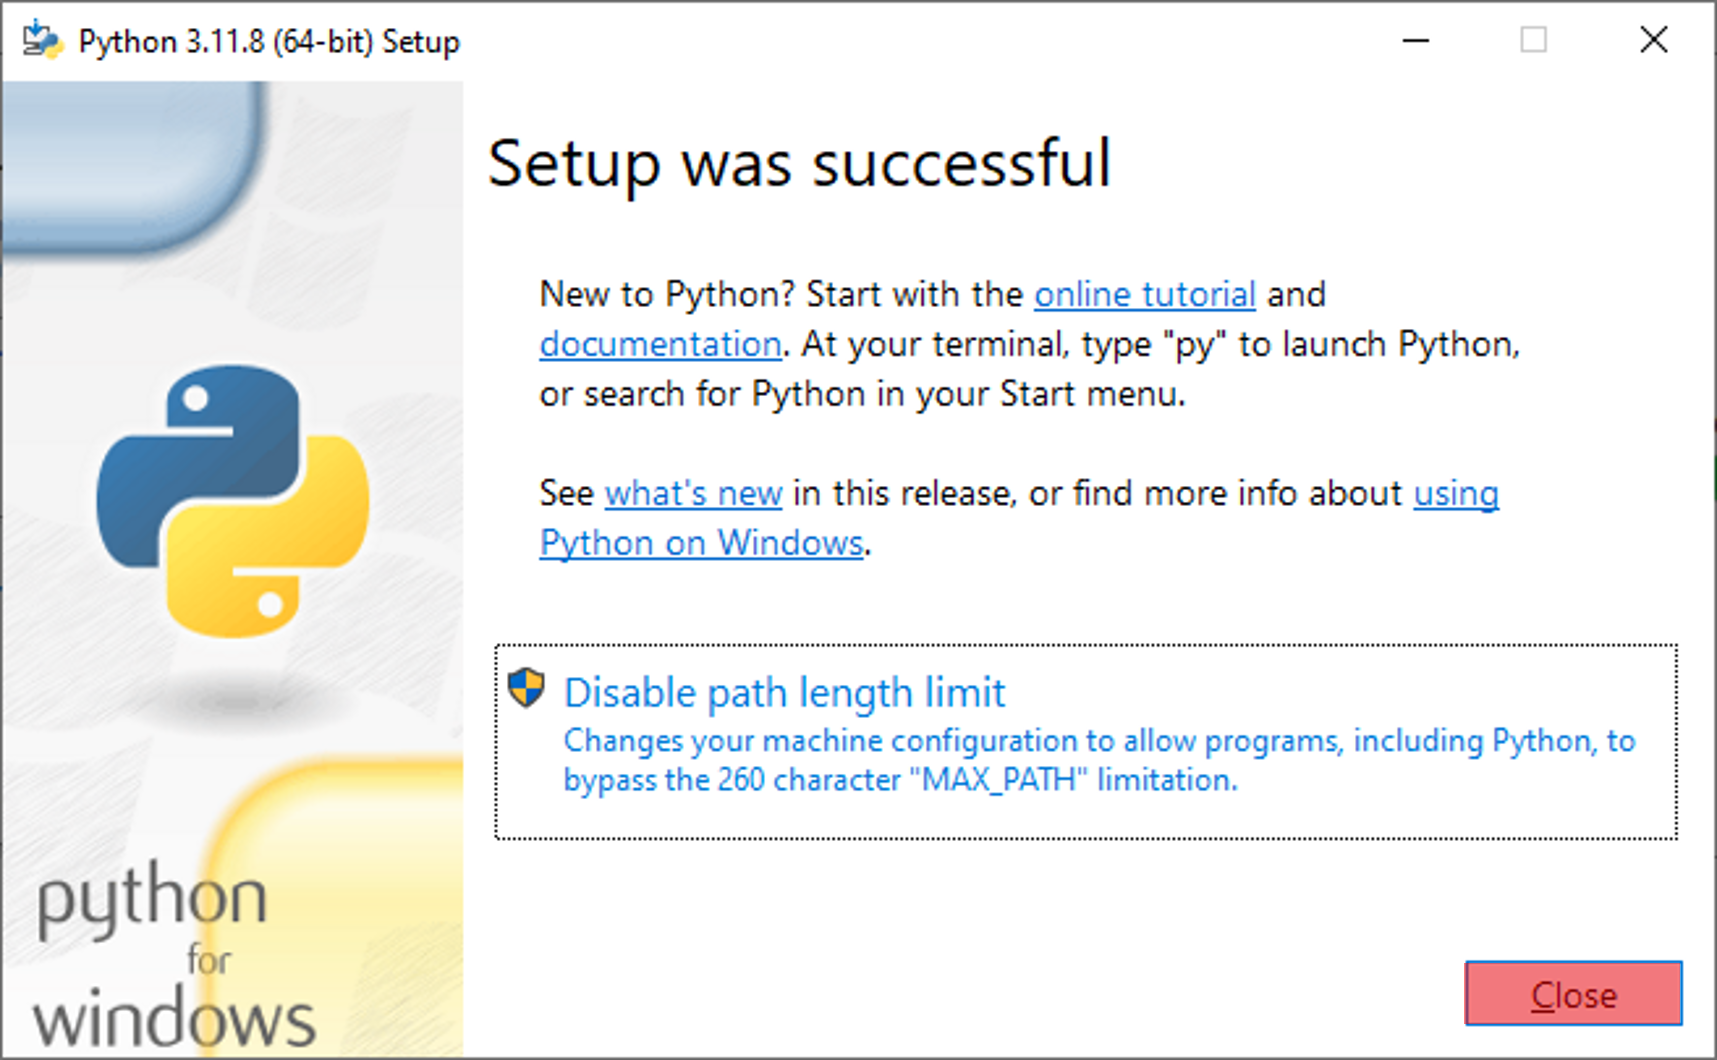
Here we have a checkbox to choose whether to “Add python.exe to PATH”, you can check it but in our case it’s not necessary so you can click Install Now.
Installing Visual Studio
In this section, I’m going to take you through installing Visual Studio Community 2022.
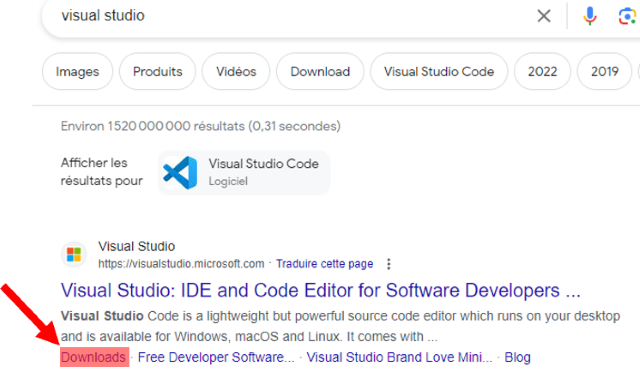
To do this, we’re going to visit the official Microsoft Visual Studio website.
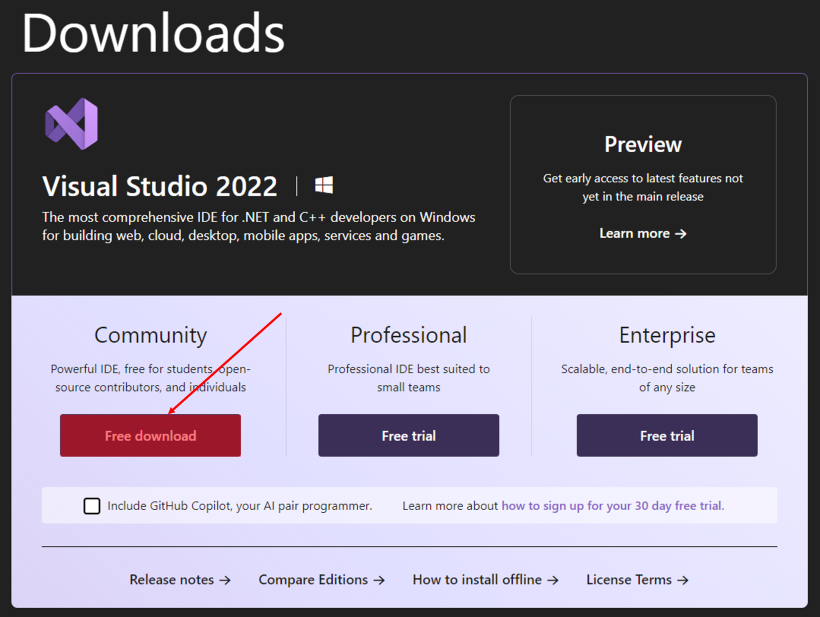
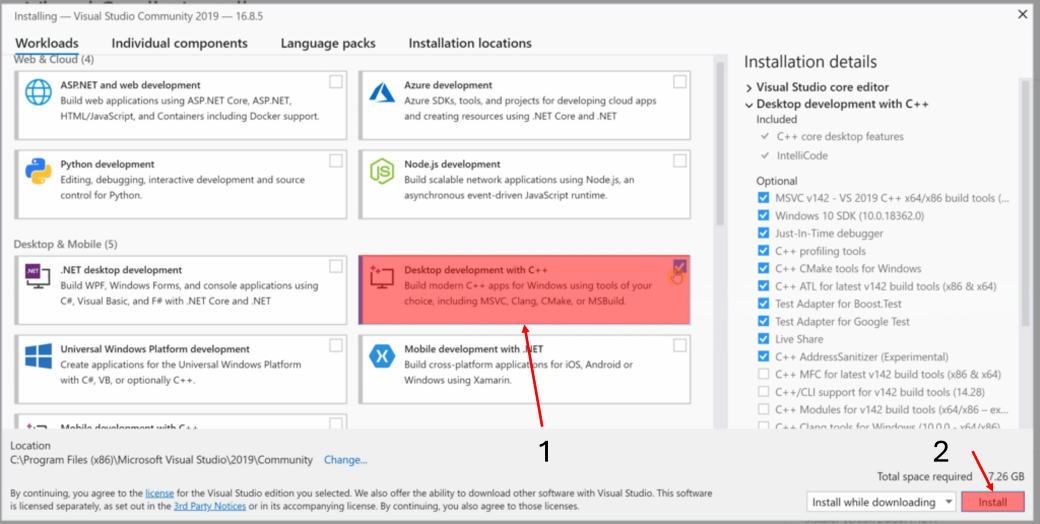
Then we select the Community version.
Installing CMake
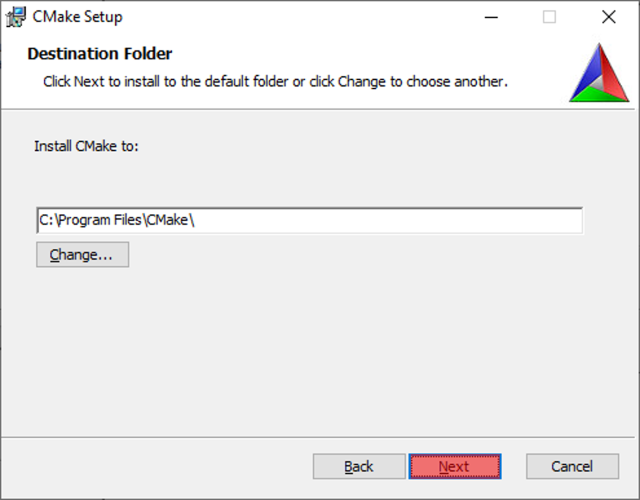
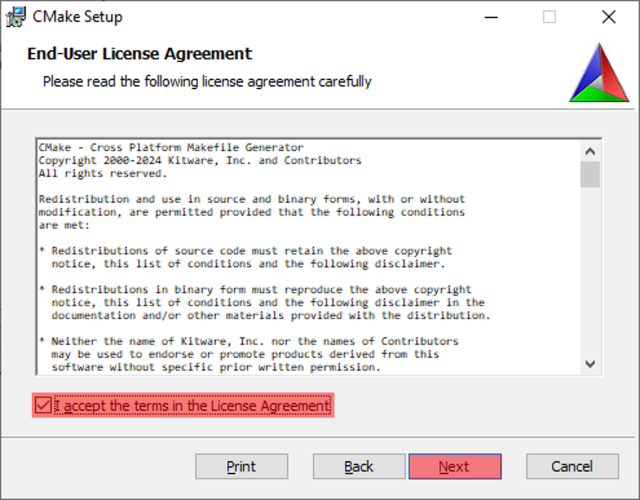
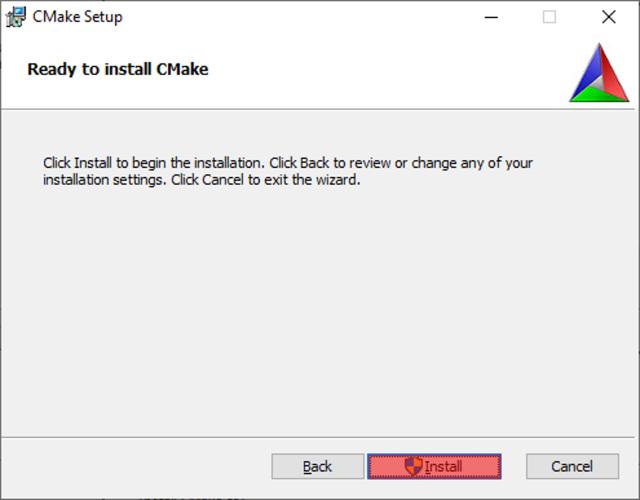
In this section, I’m going to take you through installing CMake.
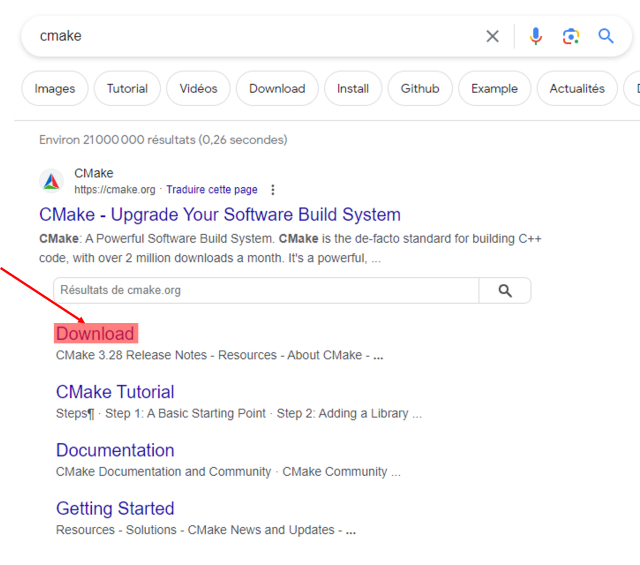
To do this, we’re going to visit the official CMake website.
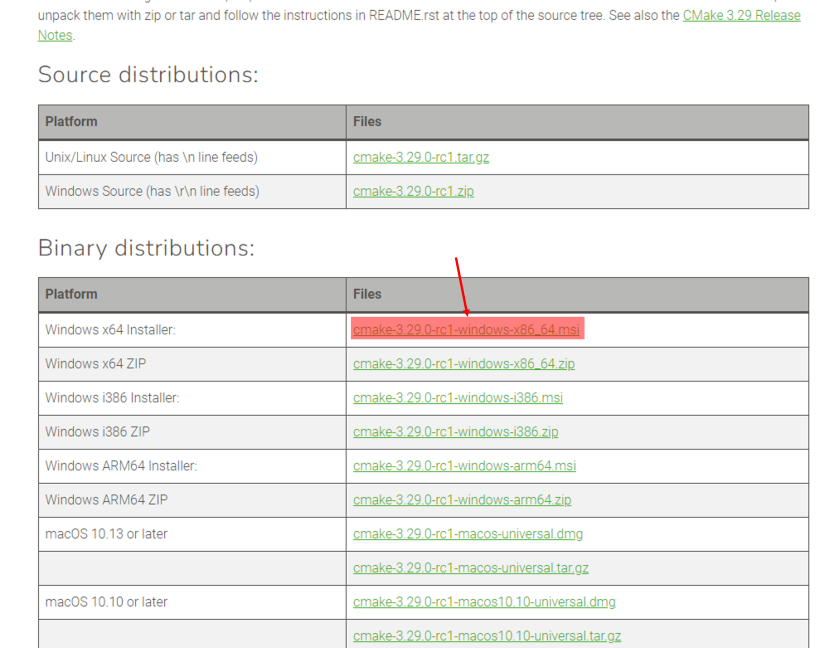
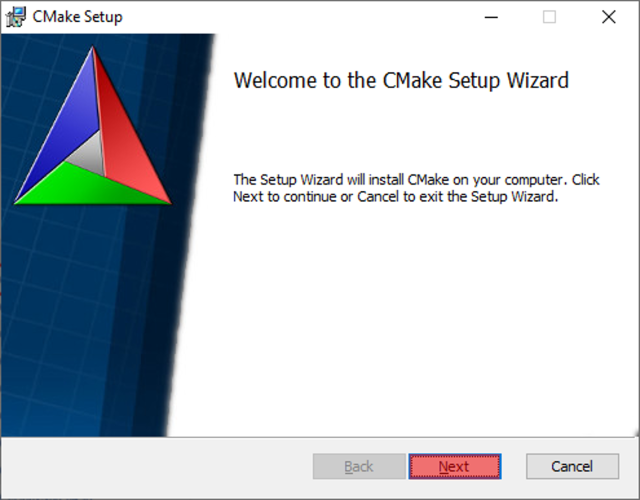
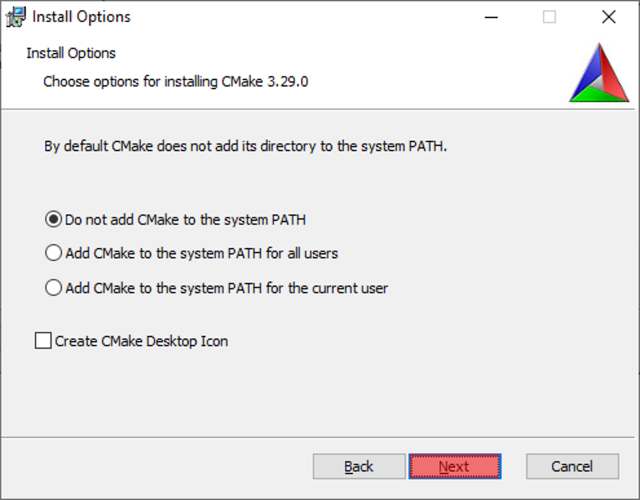
Once again, you can choose to add CMake to the PATH during installation, but this is not compulsory in our case.
Installing CUDA/CUDNN
In this section, I’m going to take you through installing CUDA and CUDNN.
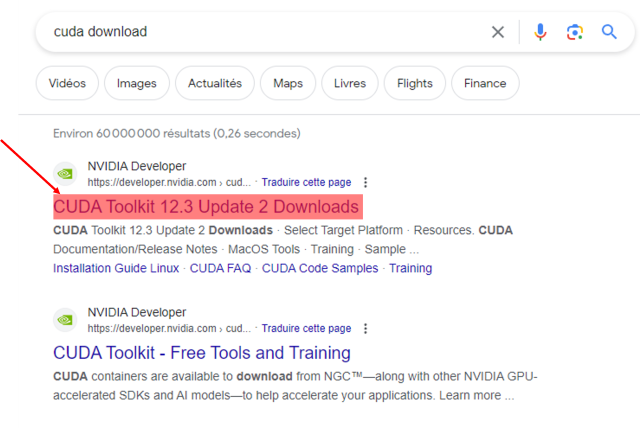
To do this, we’re going to visit the official NVIDIA CUDA Toolkit website.
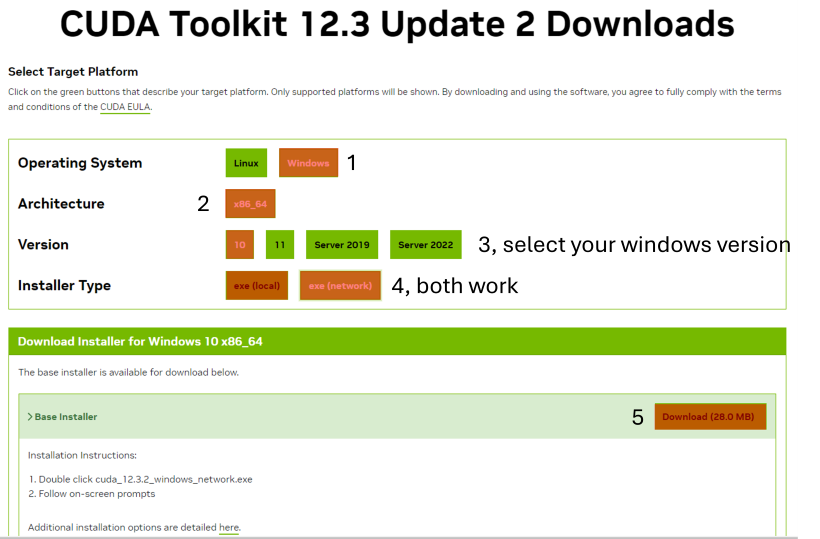
With regard to the type of :
– local means that it will download everything needed to install cuda in the installation file. (no need for an internet connection to install)
– network, it downloads the minimum and the installer will download the majority during installation. (internet connection required but the installation file is much lighter)
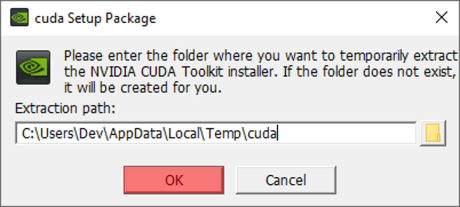
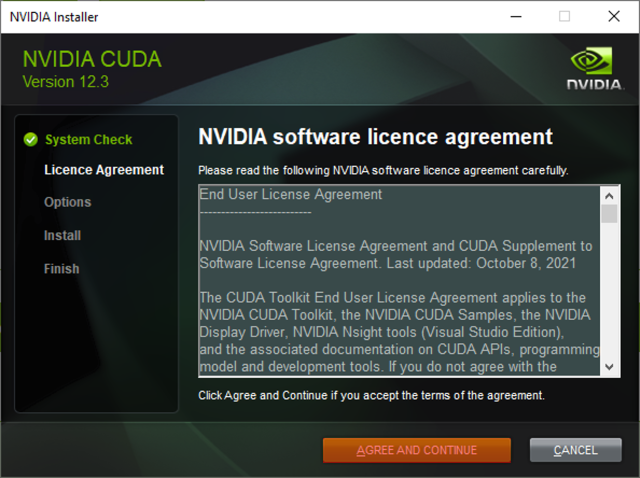
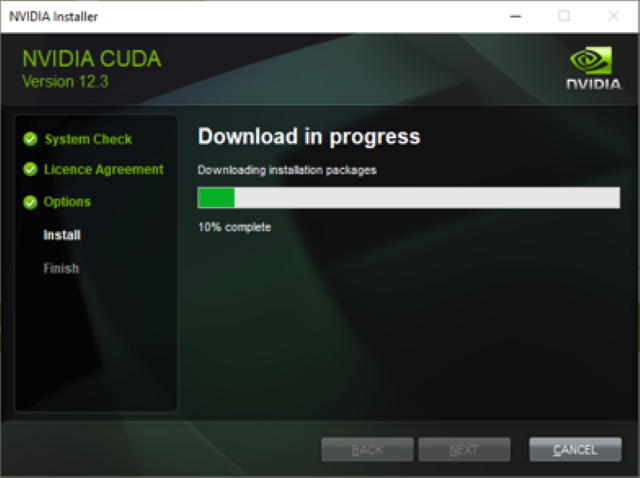
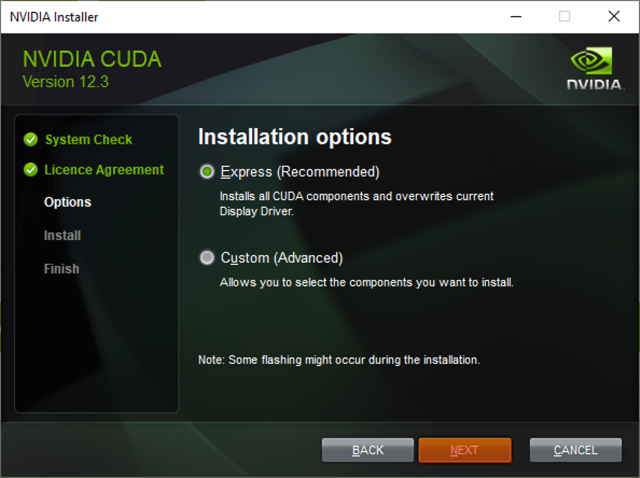
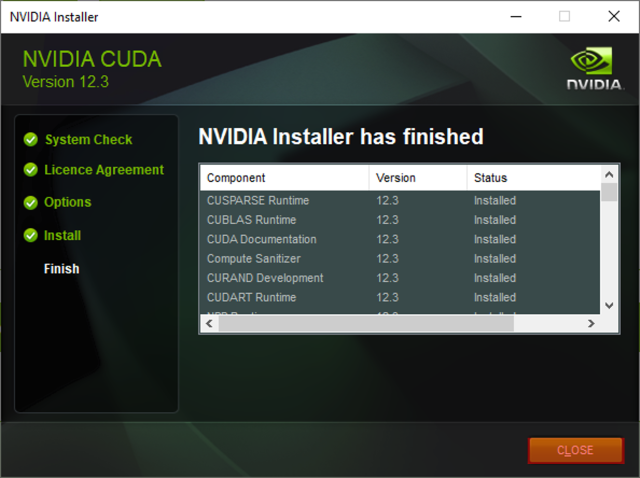
CUDNN isn’t really anything to install, in fact you just need to copy files from one folder to another, but first we need these famous files.
To do this, we’re going to visit the official NVIDIA CUDNN website.
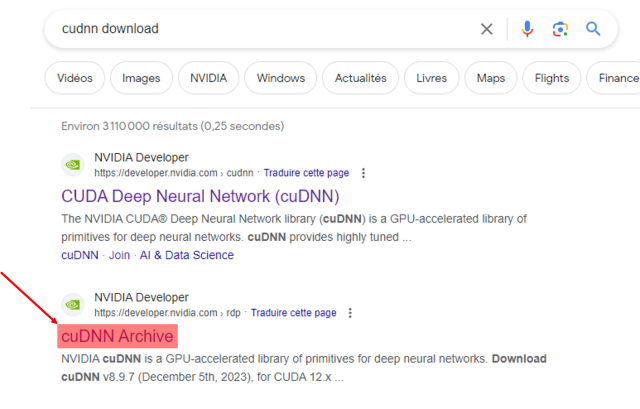
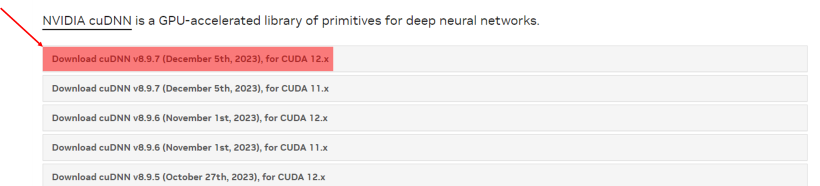
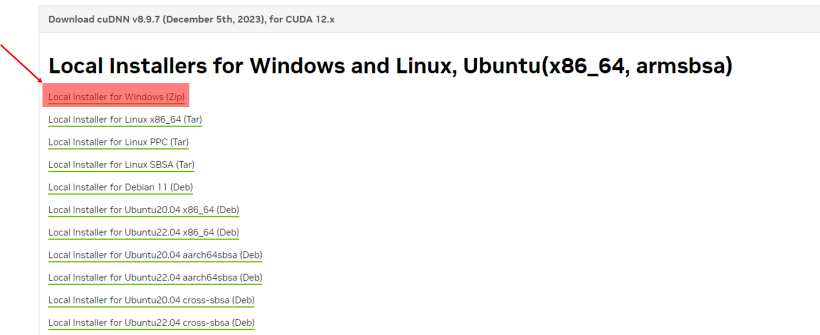
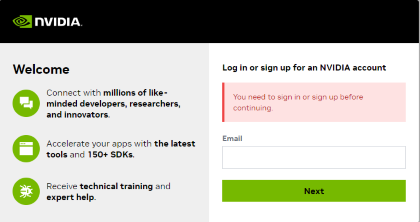
Otherwise, simply connect to your account and repeat the above steps.
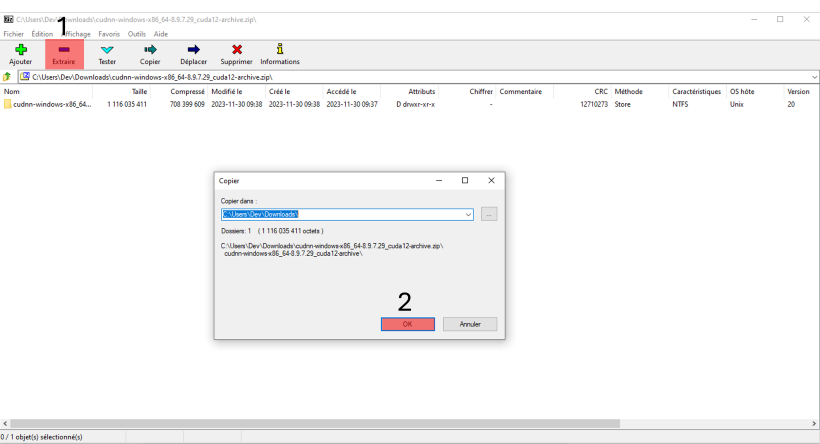
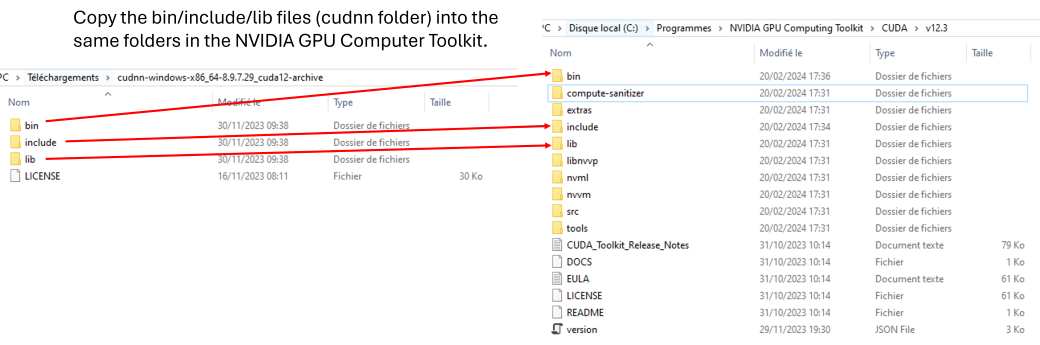
Then go to the unzipped folder, select the three bin/include/lib directories and paste them into “C:\Program Files\NVIDIA GPU Computing Toolkit\CUDA\v12.3”.
At the end you should have in bin :
cudnn64_8.dll/cudnn_adv_infer64_8.dll/etc…
Similarly for include and lib you should have cudnn files.
Installing OpenCV
In this section, I’m going to take you through installing OpenCV. The version we will be installing is CPU only, but this has no impact on training.
To do this, we’re going to visit the official OpenCV website.
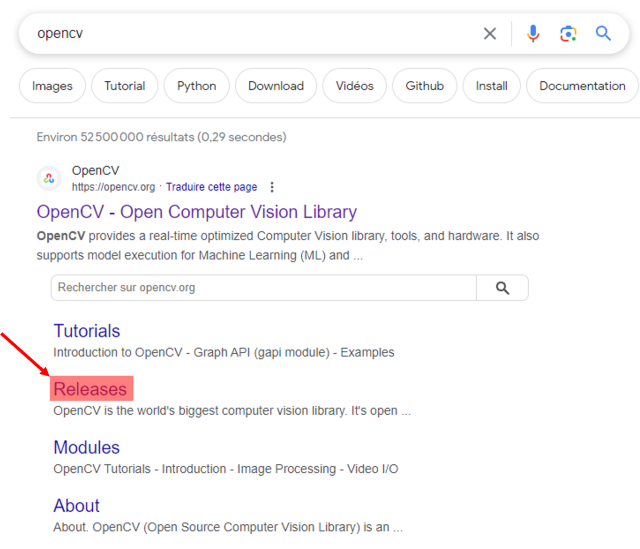
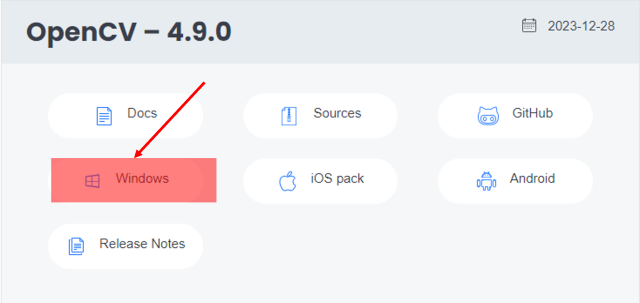
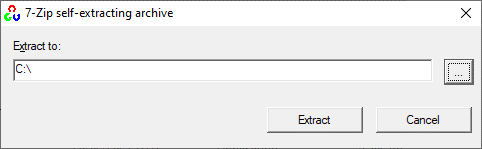
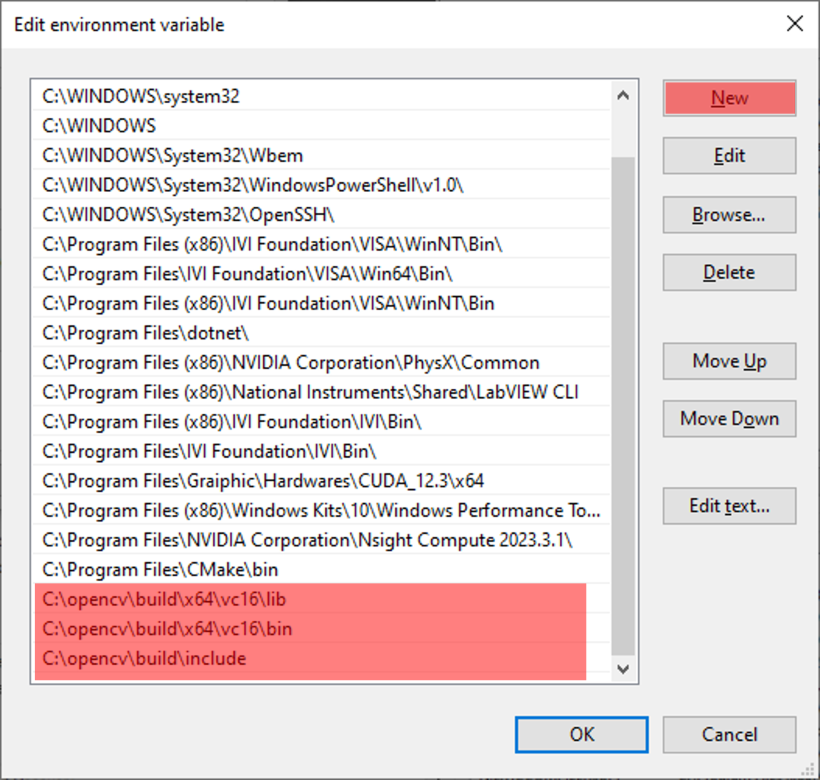
To complete the OpenCV installation, you need to add the OpenCV paths to the PATH environment variable.
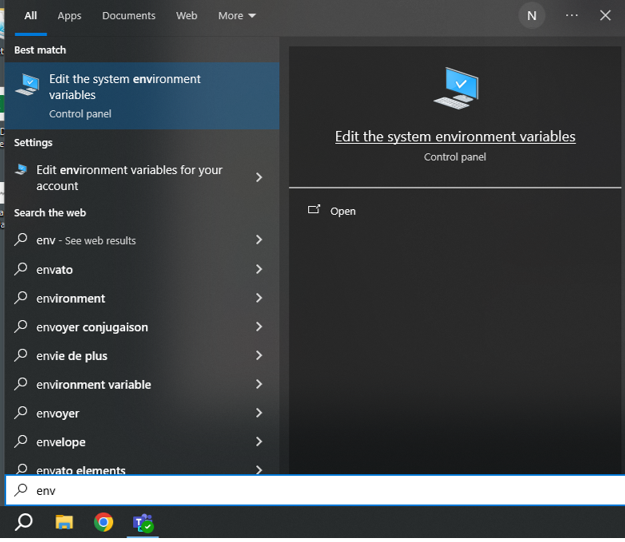
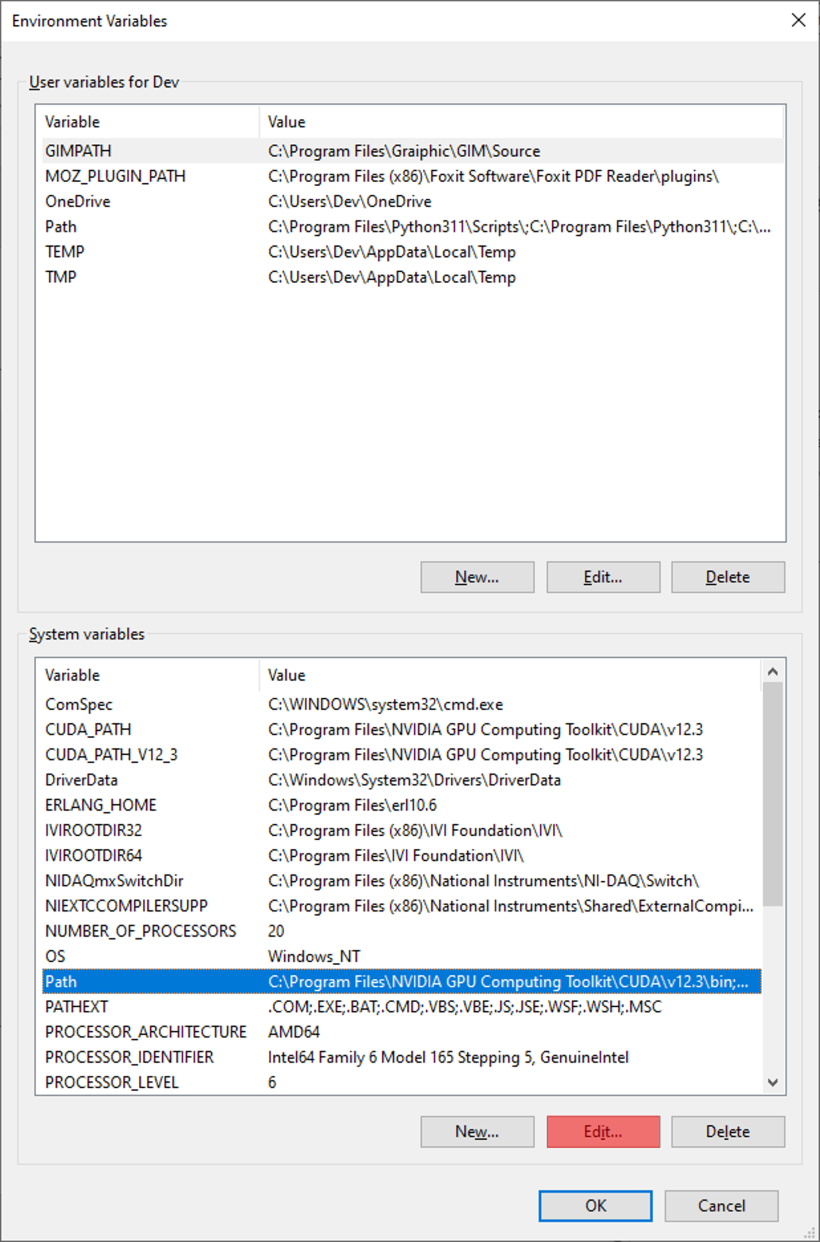
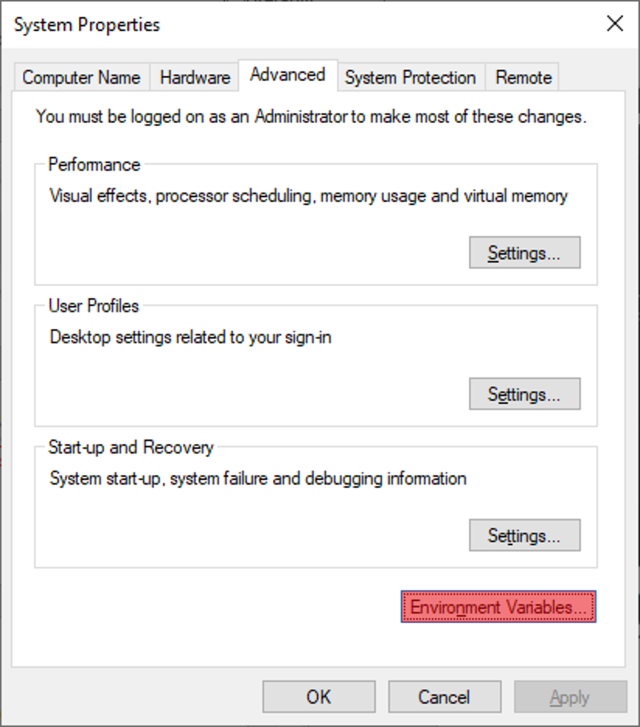
To do this, open the Windows environment manager, select Path and press “Edit…”.
Finally we add 3 new paths, if you have unzipped OpenCV to the root of C, the paths to add are the following:
C:\opencv\build\x64\vc16\lib
C:\opencv\build\x64\vc16\bin
C:\opencv\build\include
Congratulations !
We can now use it to train YOLO models on Custom Datasets.
Installing Darknet
In this section, we are going to take you through installing Darknet.
To do this, we’re going to visit the github of AlexeyAB.
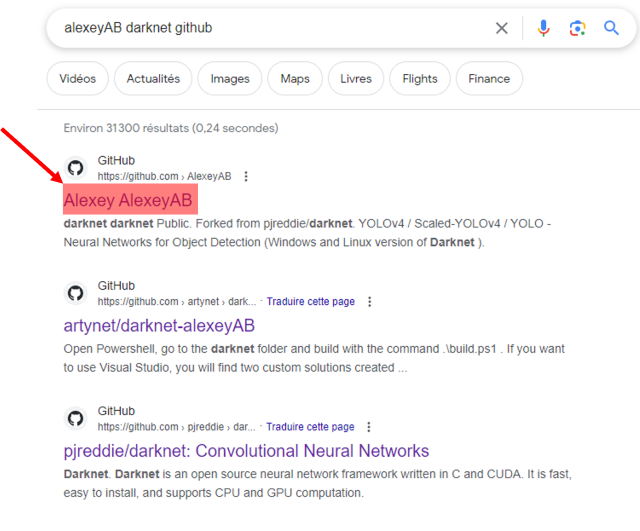
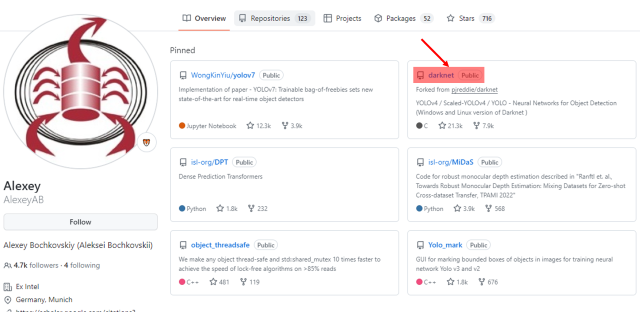
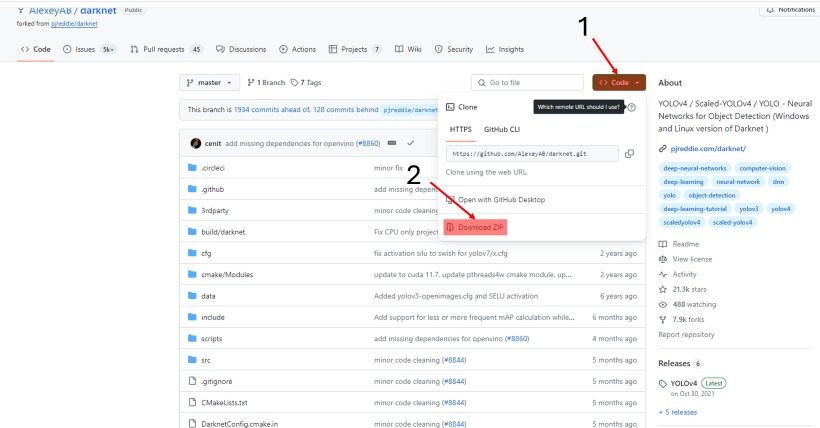
Once you’ve downloaded the darknet-master.zip, you can unzip it wherever you like. We decided to unzip it at the root of the C drive.
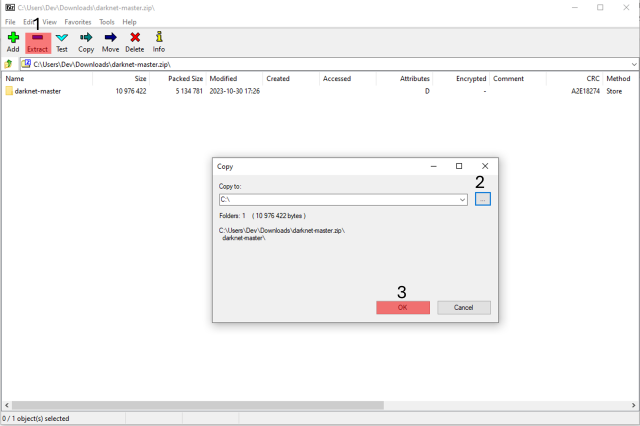
Now we’re going to build darknet with CMake.
To do this, we run cmake-gui, then select the folder where we unzipped darkner-master for the “Where is the source code” and “Where to build the binaries” boxes.
Then click on “Configure“, a window will open, we’ll change the “Optional platform for generator” parameter to x64 and finally press “Finish” to close the window.
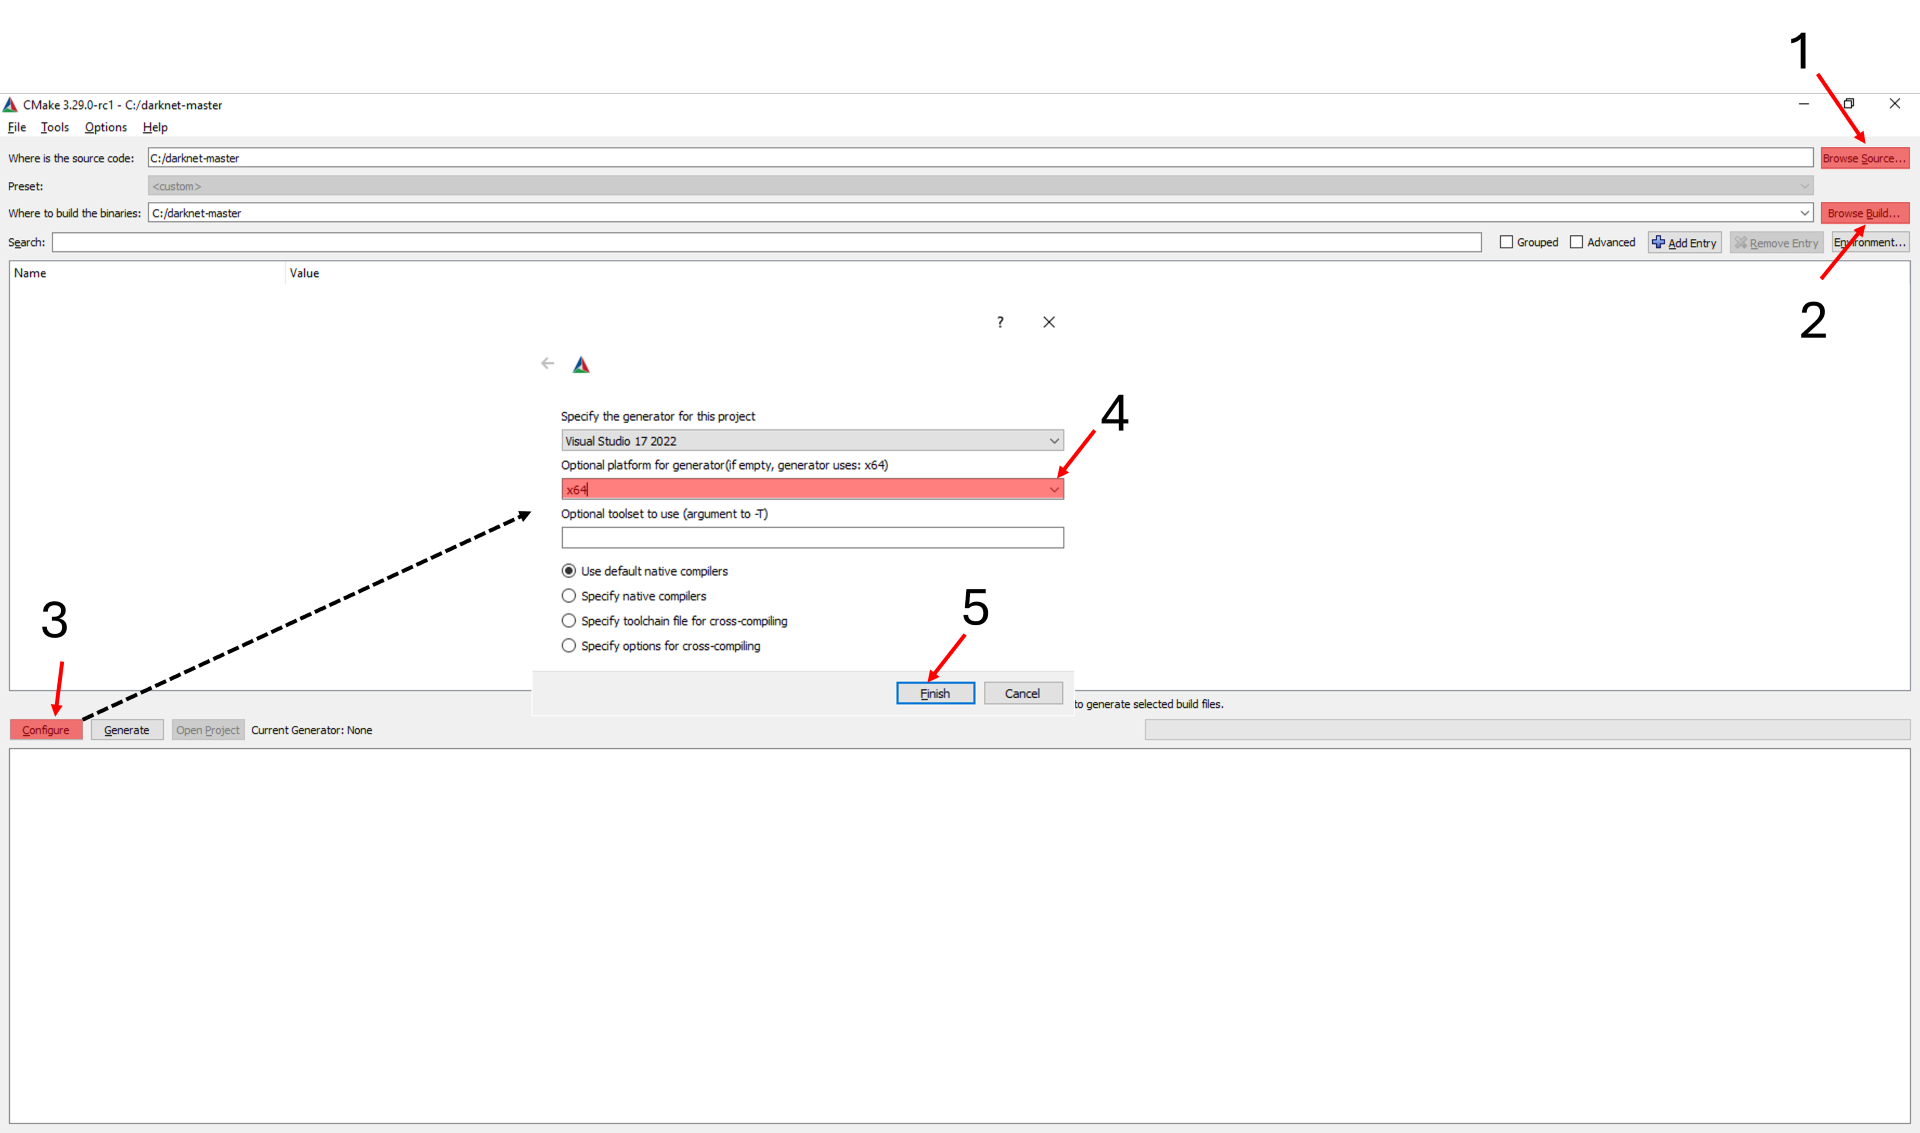
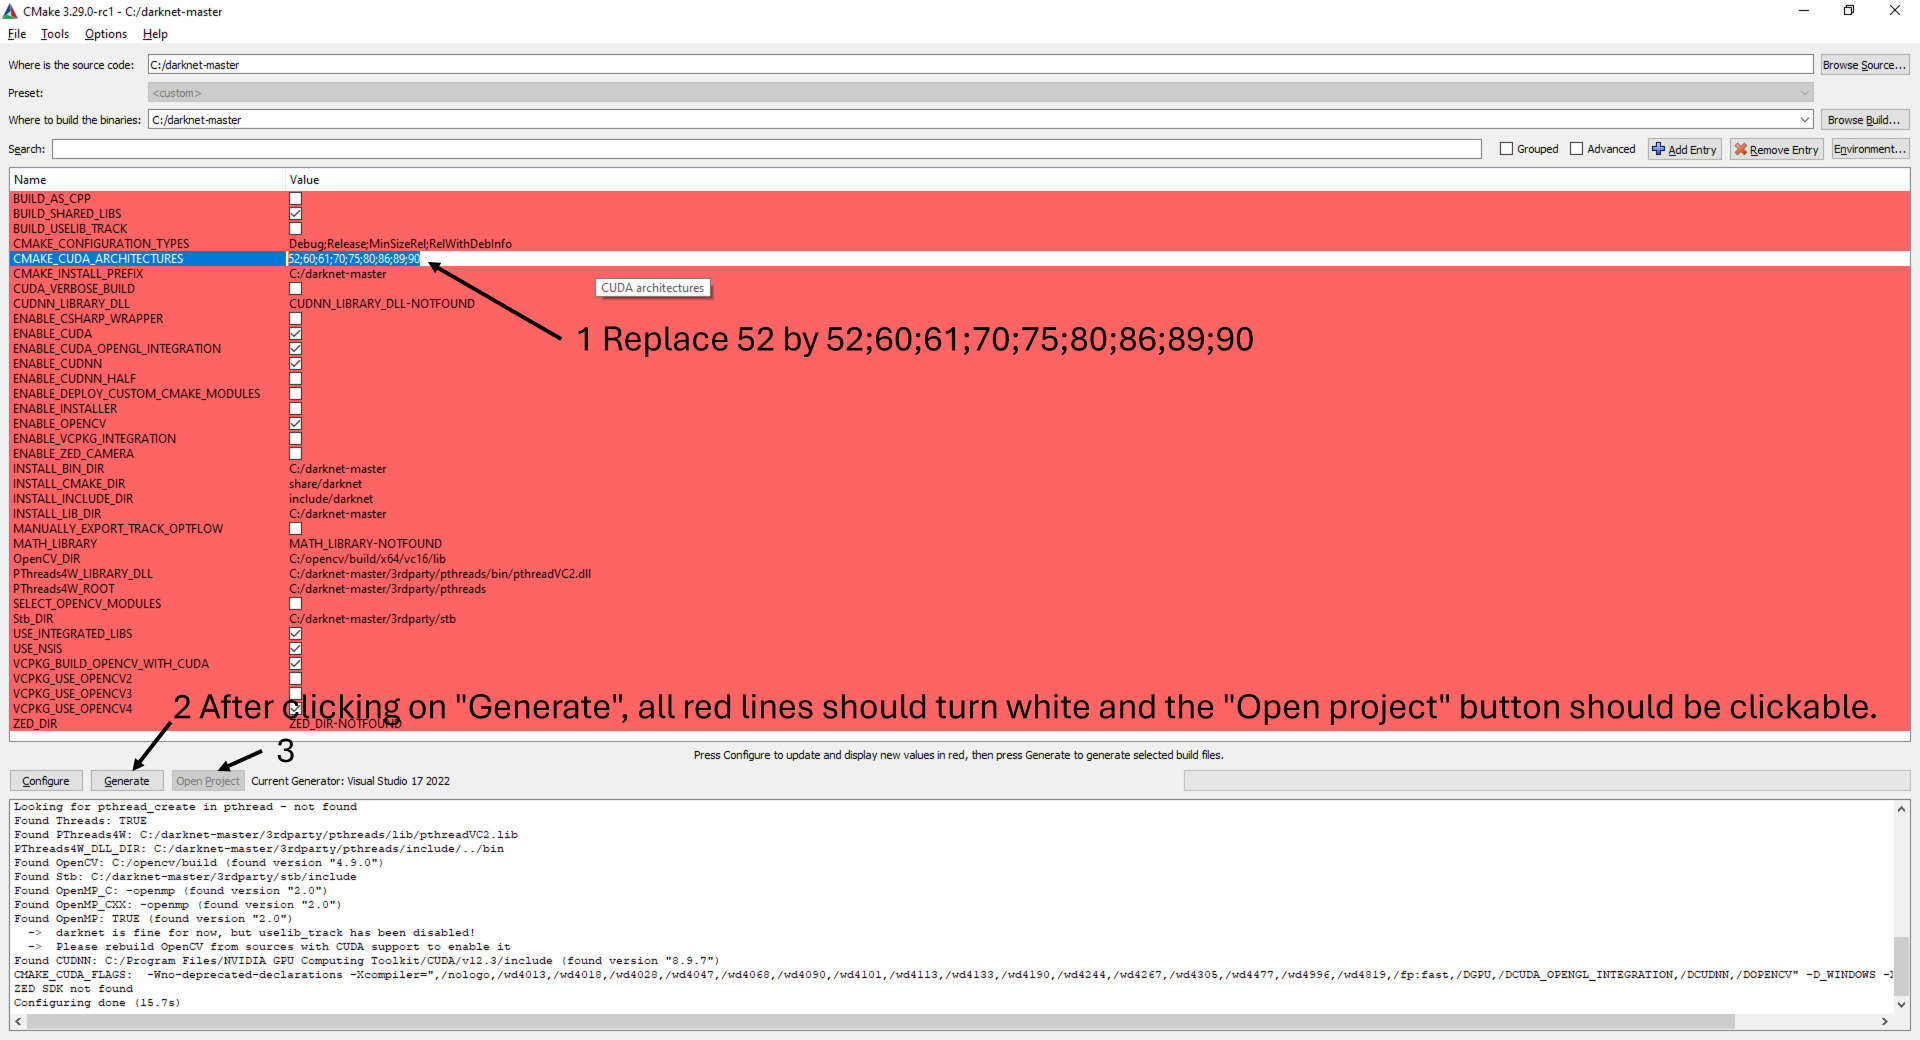
After a slight load, a list of parameters will appear in red in the centre.
Among these parameters, modify the “CMAKE_CUDA_ARCHITECTURES” parameter by setting the following value: “52;60;61;70;75;80;86;89;90“. This modification is not necessarily compulsory, but theoretically it will optimise execution for all the latest graphics cards.
After clicking on Generate, when Open Project becomes clickable, you can click on it, which will open Visual Studio.
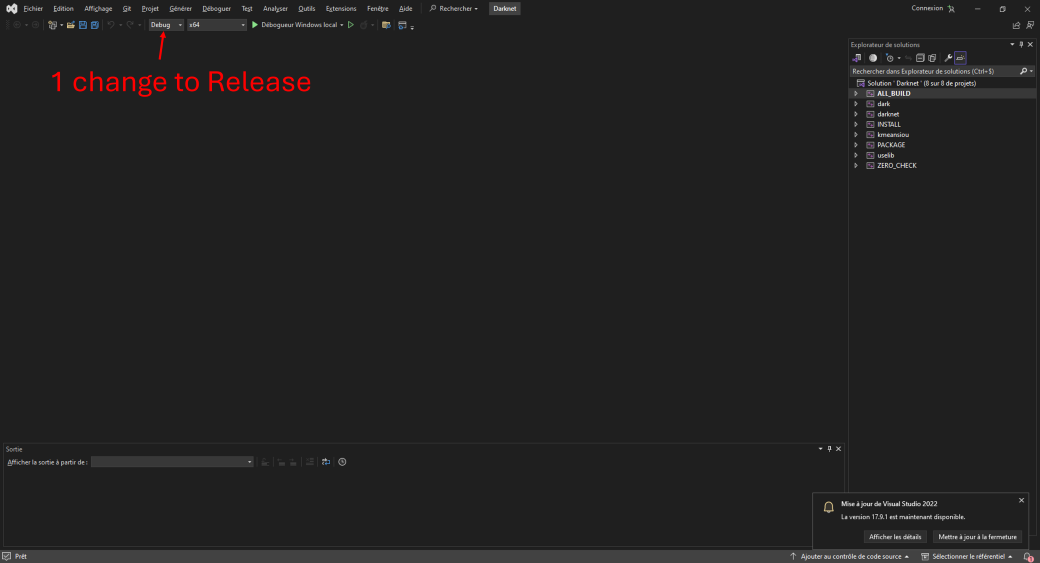
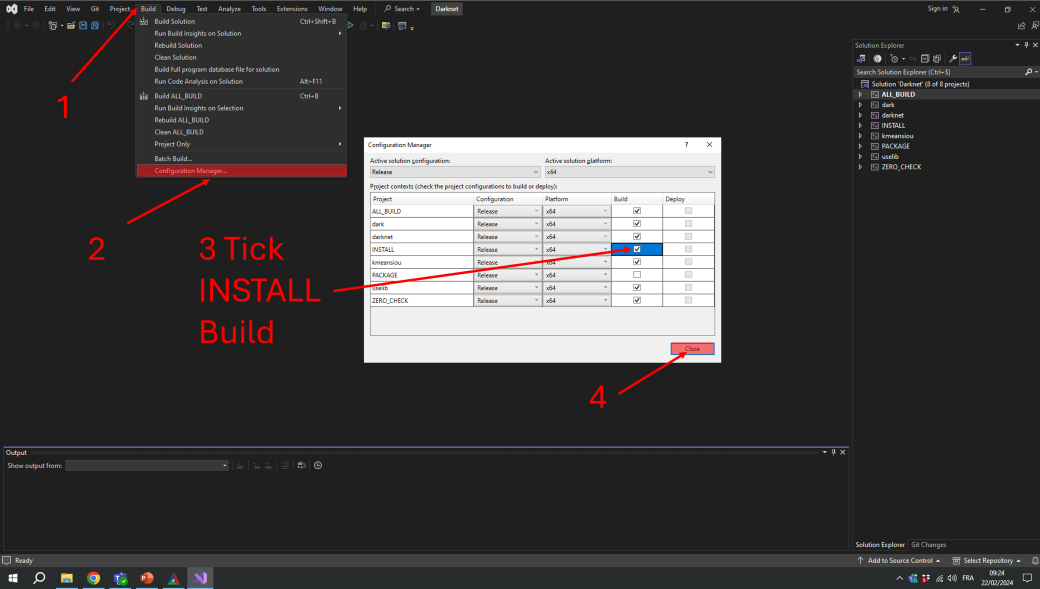
Then modify the build configuration by going to Build->Configuration Manager…
Tick “INSTALL” and close the window.
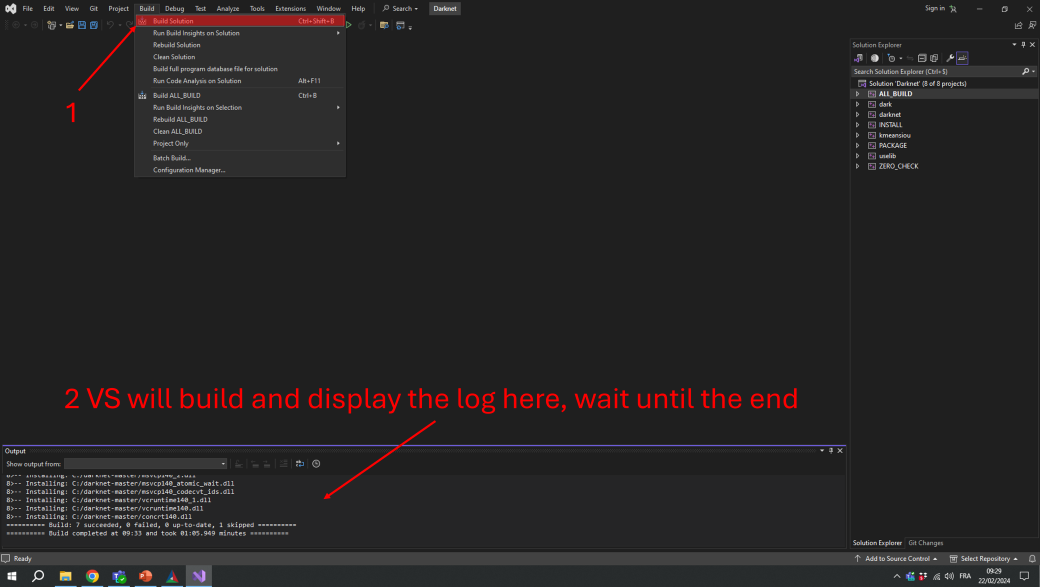
From here, darknet is built.
Download YoloV4 Pretrained Weight
Next, download the weights of a yolov4 model pre-trained on COCO here.
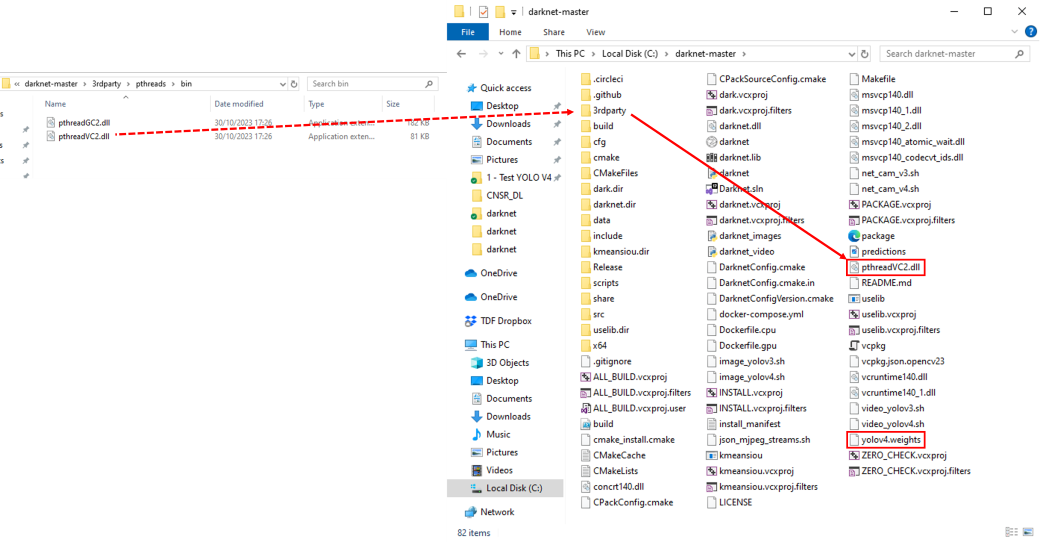
Move “pthreadVC2.dll” and “yolov4.weights”
However, there is still one last step to test whether it works properly.
Go to the “C:\darknet-master\3rdparty\pthreads\bin” folder and copy “pthreadVC2.dll” and paste it into “C:\darknet-master”.
Then copy “yolov4.weights”, which you’ve just downloaded, into “C:\darknet-master”.
Run YoloV4 Inference
Now we’re going to test whether it works, to do this we’re going to run a yolov4 on an image.
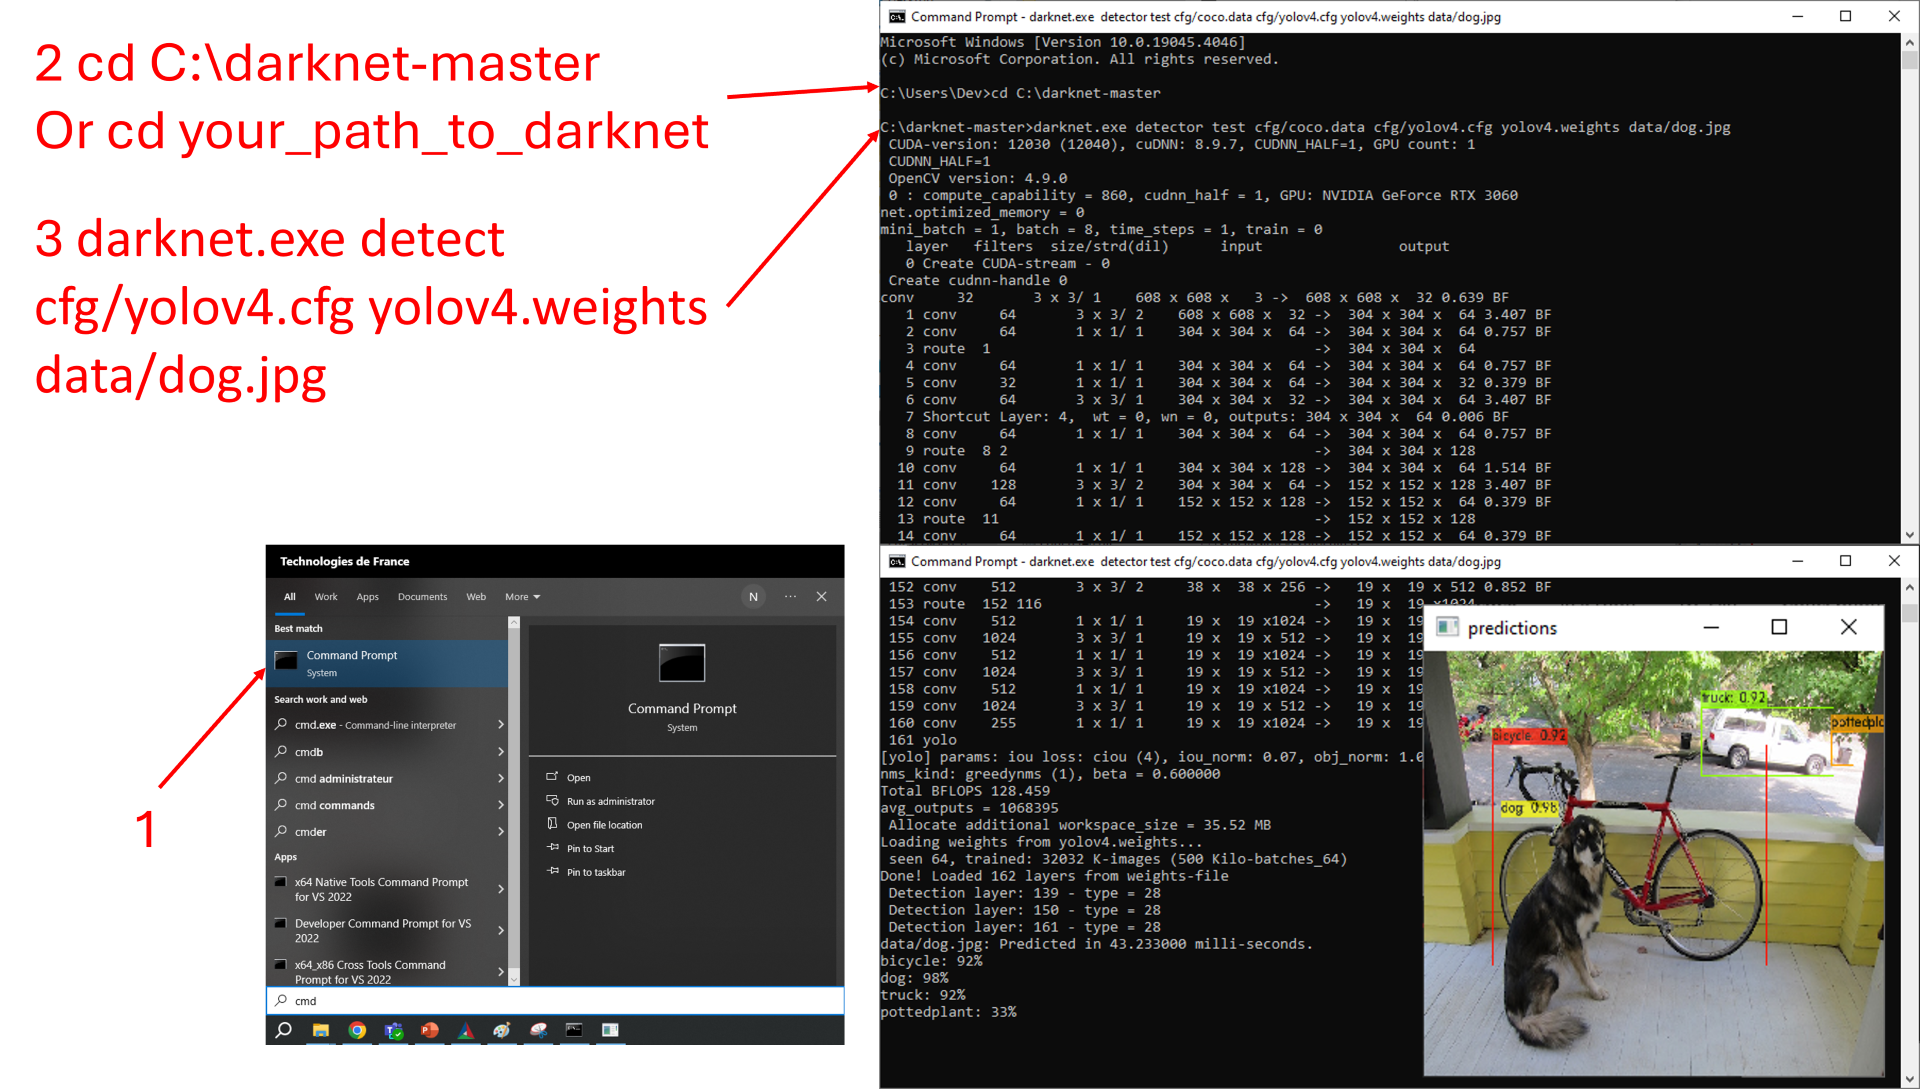
To do this, open a command prompt, move to the location of your darknet directory and run a test detection :
cd C:\darknet-master
darknet.exe detect cfg/yolov4.cfg yolov4.weights data/dog.jpg
- Visit our support page .
- Contact our technical support team at support@graiphic.io.